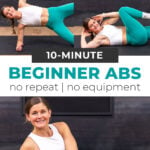

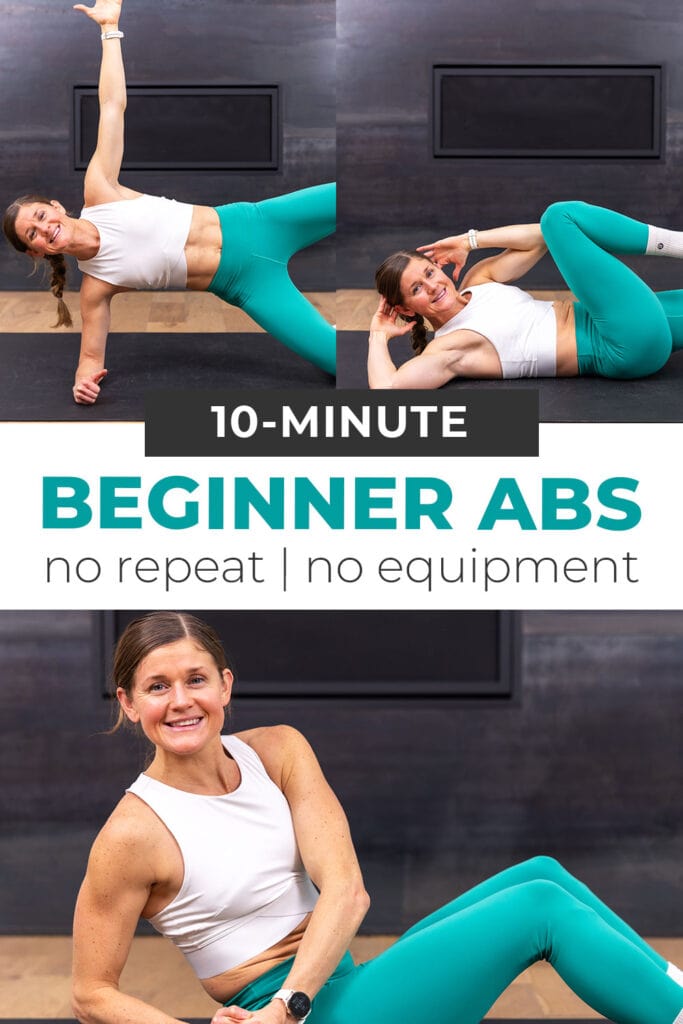
Beginner Core Workout (10 Minutes, No Equipment)
Build a strong core at home with this beginner-friendly, no-equipment workout designed to improve stability, posture and overall movement quality. By targeting the deep abdominal muscles and glutes through foundational exercises like planks, dead bugs, glute bridges and crunches, this workout helps create a strong base for all other training. It’s ideal for beginners, anyone returning to exercise or those looking to strengthen their core safely and effectively without equipment.
I always tell beginners to start core training with simple, controlled movements that focus on core stability and proper engagement, not intensity. Exercises like planks, dead bugs, glute bridges, leg raises and reverse crunches are some of the best core exercises for beginners because they teach you how to activate your abs and support your spine. Core training is important from Day 1 because your core supports nearly every movement you make. When it’s strong, everyday tasks feel easier, workouts feel more effective and your risk of injury is lower.
I recommend beginners train their core a few times per week and practice engaging it during every exercise, not just ab workouts. Learning how to brace your core helps prevent larger muscle groups from overcompensating and protects the lower back, which is why I see core strength as the foundation of functional fitness – not just something you train for aesthetics.
Read A 5-Star Review ⭐⭐⭐⭐⭐
“My abs are on fire with those seated twists, glute marches, half crunches, and dead bugs! My obliques are burning with those side planks.”
— Nytasha R.
Beginner-Friendly Core Exercises
This beginner core routine is functional, training the core to stabilize your body as you move your arms and legs in different directions.
Add these core strengthening exercises to your beginner fitness routine 1-2 times a week to build muscle and improve definition in the abdominal muscles. If you’re dedicated to core strength training, try a 7-Day or 30-Day Challenge.
Workout Equipment:
None, just your bodyweight.
Workout Instructions:
Follow along with the guided Beginner Core Workout Video on YouTube, led by me — your certified personal trainer (CPT), Lindsey Bomgren.
Your Workout Looks Like This:
- 10 Beginner Core Exercises
- Timed Intervals (40 seconds of work per exercise, followed by 20 seconds of rest. Complete as many reps as you can in the timed interval.)
- Perform Each Ab Exercise x1 (no repeats)
Workout Outline
1. Plank
Targets: Transverse abdominals, upper abs, lower abs and shoulders.
How to Do a Plank
- Start in a table top position with shoulders stacked over wrists (soft bend in the elbows) and hips over knees. Hands are planted firmly on the mat, weight evenly distributed between all ten fingers. Option to drop down to your forearms.
- Step both feet back and extend your legs long, balancing on your toes. Pull up on your kneecaps and push back on your heels to keep your core engaged.
- Hold this plank position, maintaining a straight line with your body and gaze slightly in front of you.
Modification: Drop your knees to the ground and find a modified plank position.
2. Dead Bug
Targets: Transverse abdomen (deep core muscles below your rectus abdomen or six pack ab muscles), lower abs and hip flexors.
How to Do a Dead Bug
- Lie on your back flat on the floor, performing a slight pelvic tilt to press your lower back into the mat. Lift your knees to form a 90-degree angle (knees stacked on top of hips). Inhale, letting your belly expand.
- Exhale, engaging your core. Extend your left leg and right arm away from your body, lowering the right hand and left foot towards the ground with control. Left arm and right leg remain in place. With control, inhale as you return to center.
- Repeat on the opposite side. Exhale as you extend your right leg and left arm away from the body, lowering the left hand and right foot towards the ground. With control, return to the starting position.
3. Half Crunch
Targets: Rectus abdominis, lower abs, transverse abdominis and pelvic floor.

How to Do a Half Crunch
- Lie flat on the mat, performing a slight pelvic tilt to press your lower back into the mat and drawing your belly button towards your spine. Bring your legs up to tabletop position, both knees bent at 90 degrees, shins parallel to the floor. Option to lightly press your fingertips into the back of your head, elbows wide.
- Squeeze through your upper abs to lift your head, neck and shoulders off the mat, crunching through the core. Think about reducing the amount of space between the bottom of your ribs and your hips.
- With control, lower the head, neck and shoulders to the mat, returning to the starting position.
Modification: Option to keep your feet planted on the floor.
4. Glute Bridge
Targets: Glutes, hamstrings, hips, core and pelvic floor.
How to Do a Glute Bridge
- Lie on the floor on your back with your knees bent and feet flat on the ground, feet hip-width apart.
- Press through the heels to lift your hips off the ground until your knees, hips and shoulders form a straight line. Keep your abs drawn in, belly button pulled towards the spine, so you don’t overextend your back.
- With control, lower your hips back to the ground.
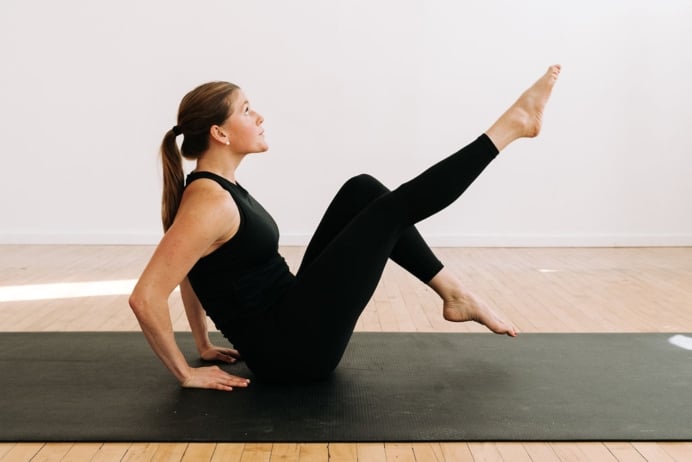
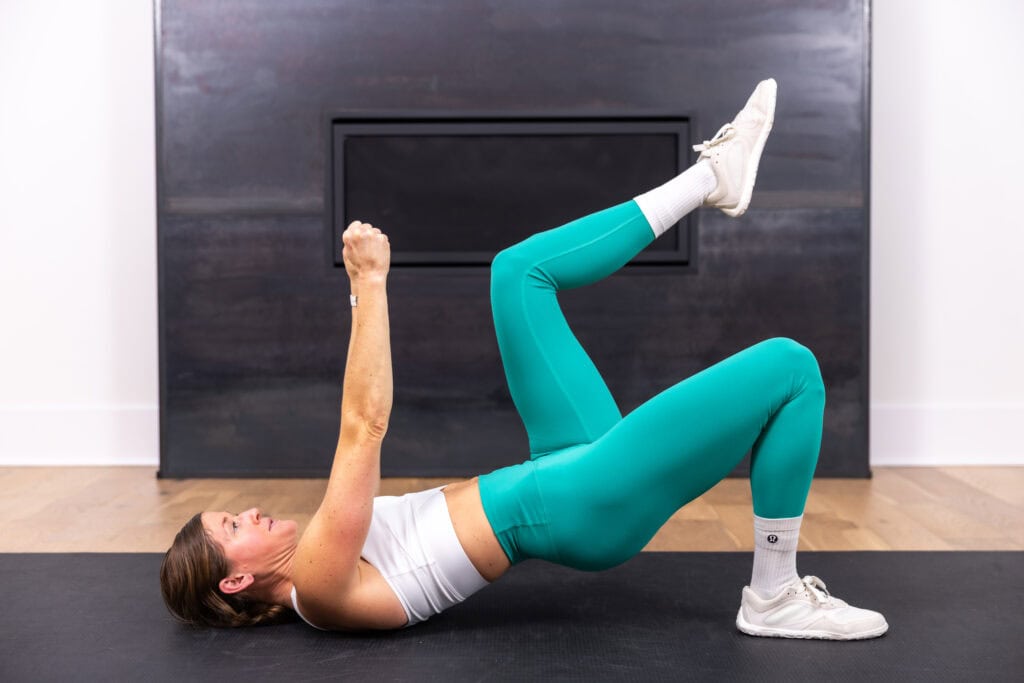
5. Glute Bridge March
Targets: Gluteus maximus, gluteus medius, hips, hamstrings and core.
How to Do a Glute Bridge March
- Lie on the floor on your back with your knees bent at 90 degrees and feet flat on the ground.
- Press through the heels to raise your hips off the ground until your knees, hips and shoulders form a straight line.
- Hold this glute bridge position, then shift your weight into your left foot and drive your right knee towards your chest.
- Slowly lower the right foot back to the ground, then switch sides. This time, shift your weight into your right foot and drive your left knee towards your chest.
- Continue this pattern, performing alternating marches as you maintain the glute bridge hold throughout all repetitions.
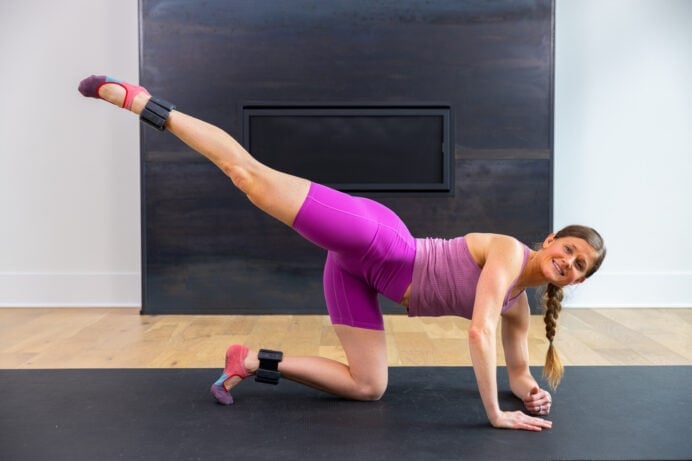
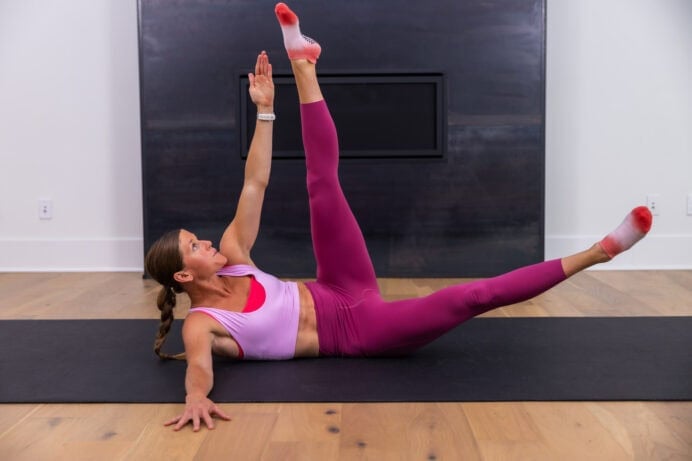
6. Alternating Leg Lowers
Targets: Rectus abdominis, transverse abs, lower abs, hips and thighs.
How to Do Alternating Leg Lowers
- Start lying on your back with your core braced. Press your lower back firmly into the mat and think about “wrapping” your abdominal wall around your core. Keep your upper body (head, neck and shoulder blades) relaxed on the floor.
- Straighten your legs and lift them so they’re stacked over your hips, feet pointed toward the ceiling. Extend your arms long by your sides with your hands resting on the mat for support.
- Slowly lower 1 leg toward the ground, keeping both legs as straight as possible. Focus on maintaining contact between your lower back and the mat throughout.
- Hover your heel just above the floor, then lift that leg back up to the starting position using your core – not momentum.
- Repeat on the opposite leg, alternating sides with control.
Modification: Bend both knees, shortening the distance each leg travels.
7. Bicycle Crunch
Targets: Rectus abdominis, transverse abdominal muscles and obliques.
How to Do a Bicycle Crunch
- Start lying flat on your back, lower back pressing firmly into the mat. Bring your legs to a raised 90-degree bend.
- Lift your head, neck and shoulders off the ground. Place your hands behind your head and think about pressing your head into your fingertips.
- Lift your right elbow towards your left knee as you extend your right leg long.
- Slowly return to the starting position and repeat on the other side. Pulling your left elbow towards your right knee as you extend your left leg long.
- Continue to repeat this “bicycling” movement, alternating knee to elbow crunches.
Modification: Perform the exercise with knees bent, reducing the range of motion.
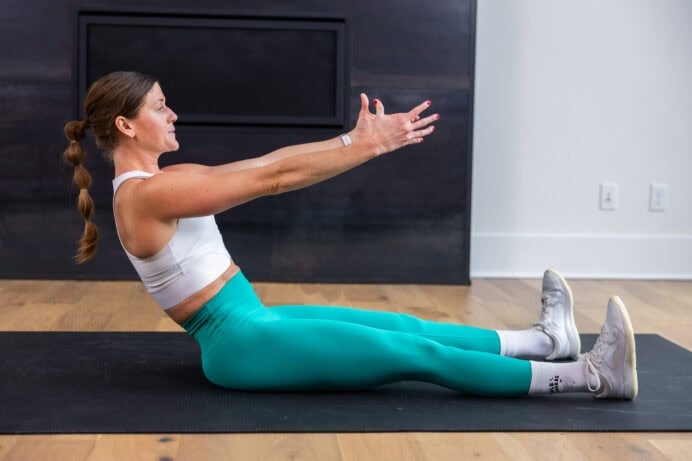
8. Seated Twist
Targets: Upper abs, lower abs, obliques, core and hips.
How to Do a Seated or Russian Twist
- Start in a seated position, sitting on your sit bones as you lean back. Your heels should rest on the ground (option to float 1 or both feet to increase intensity).
- Pull your right elbow back towards your right hip as you rotate through your torso to tap your hands to the mat near your right hip.
- Use your obliques and abs to return to the center.
- Then reverse the movement, pulling your left elbow back towards your left hip as you rotate through your torso to tap your hands to the mat near your left hip.
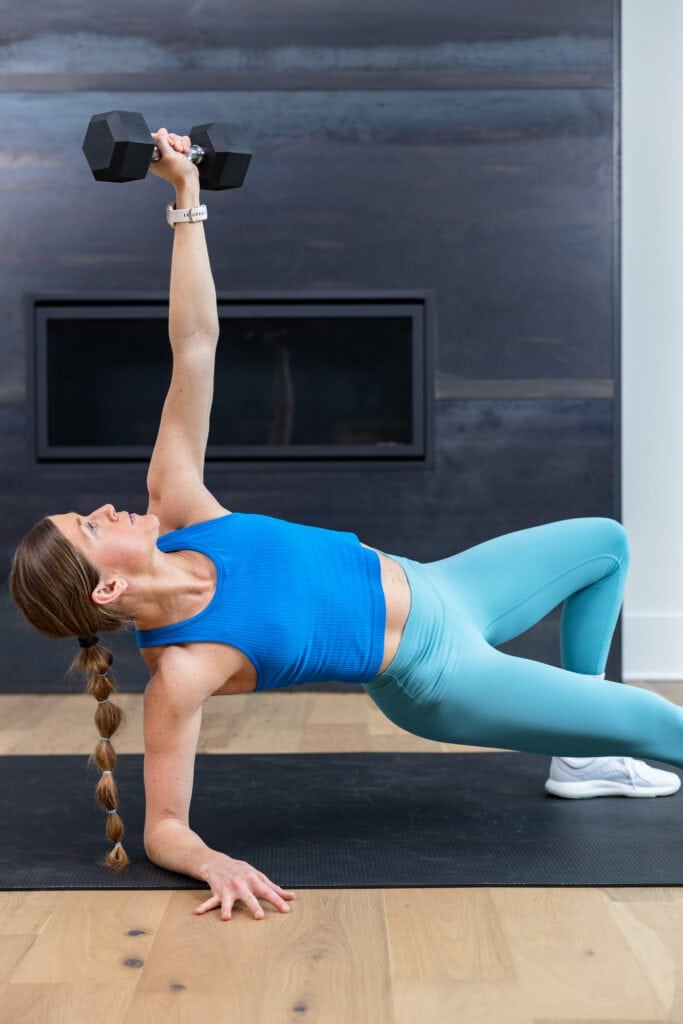
9. Side Plank
Targets: Internal and external oblique muscles (the muscles that run along the side of your core) and transverse abdominus.
How to Do a Side Plank
- Start lying on your side, right forearm on the mat, right shoulder stacked over right elbow.
- Press into your forearm and lift your hips. Balance on the outside edge of your right foot, stacking your left foot on top of your right foot. Option to stagger your feet if stacked isn’t comfortable.
- Place your left hand behind your head or extend your left hand overhead. Focus on keeping your hips high and even (stacked over each other).
Modification: Drop the inside knee to the ground rather than extending both legs.
Free 7-Day Ab Challenge
FAQs
How do beginners activate their core properly?
Beginners can activate their core by focusing on gentle bracing rather than sucking in the stomach. I cue engaging the core as if preparing for a light cough – tightening the abs while still breathing normally and keeping the ribs stacked over the hips. Starting with slow, controlled movements helps build awareness and proper activation.
What are the signs of a weak core in beginners?
Common signs of a weak core or midsection include low back pain or discomfort, poor balance, difficulty maintaining proper posture and relying on momentum during exercises. I also see beginners struggle to hold positions like planks or maintain control during simple movements, which often points to underdeveloped core strength.
Is a 20-minute core workout enough?
Yes, 20 minutes is plenty for beginners when the focus is on quality over quantity. I prioritize intentional exercises that challenge stability and control, which can be just as effective as longer sessions.
What are the big 3 core exercises?
The “Big 3” core exercises (developed by spine biomechanics expert Dr. Stuart McGill) are the modified curl-up, side bridge (or side plank) and bird dog. These movements strengthen the core while prioritizing spinal stability, control and proper movement mechanics, making them especially effective and safe for beginners.
More Workouts
Abs + Core WorkoutsPin This: 9 Effective Core Exercises for Beginners
no comments