


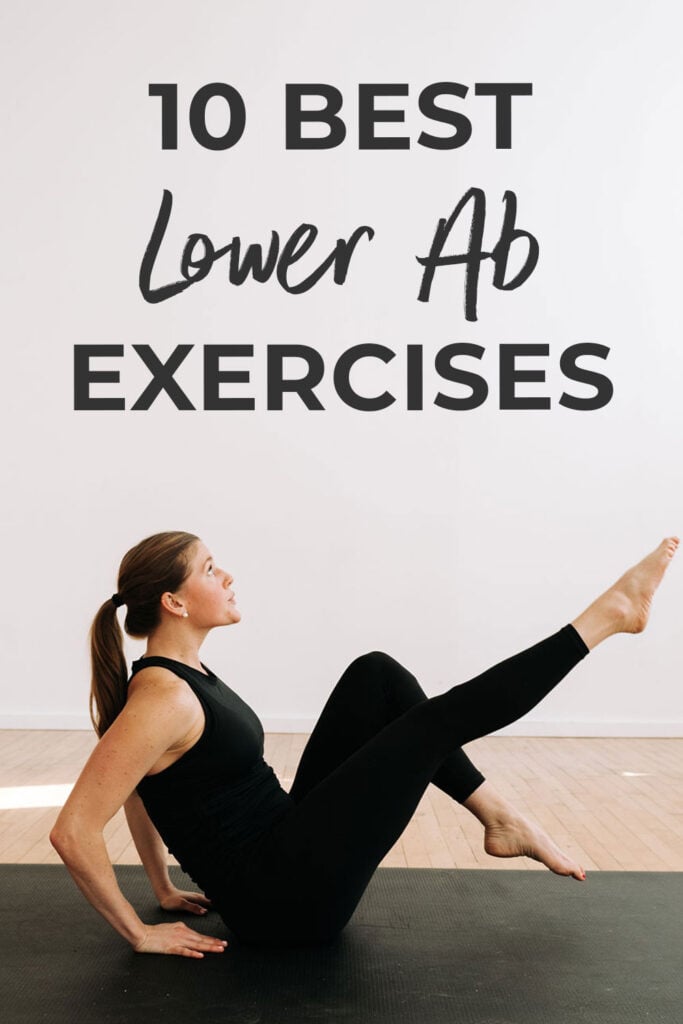
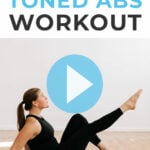
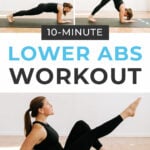
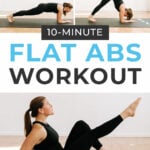
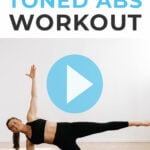
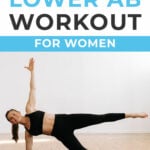
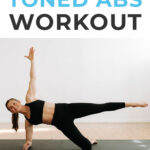
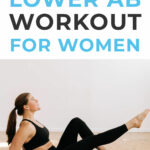
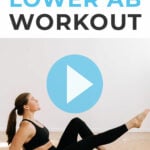
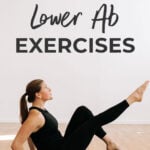
Lower Ab Workout for Women (10 Exercises in 10 Minutes)
Strengthen and define the core with the best lower ab workout for women. Tone your lower belly using just your bodyweight with this quick and effective home workout. This guided workout offers beginner and advanced ab exercises to help you build a strong core and pelvic floor.
Strengthen the lower abs at home with the best lower ab workout for women.
A strong core is important for many reasons like preventing injury and reducing lower back pain. Lower ab workouts for women can help improve posture, stability, and balance in daily activity.
Add this 10-minute lower ab workout onto your next upper body or lower body workout. You can also knock out these ab exercises for women as a quick workout under 10 minutes!
Best Lower Ab Workout For Women
Strengthen your core, improve posture and reduce low back pain with the best lower ab workout for women.
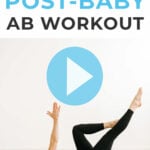
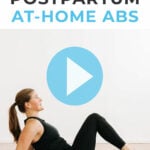
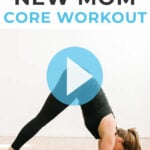
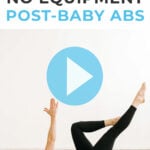
This is also a great workout for postpartum mamas rebuilding their core. In fact, several of these ab exercises were taken directly from sessions with my postpartum pelvic floor physical therapist.
Add ab workouts like this one to your home training program 1-3 times a week to build muscle mass and increase strength.
Note: if you start to feel any of these core exercises in your hips, take the beginner-friendly modifications or cool down with these hip mobility exercises.
Workout Equipment:
No equipment needed, just your bodyweight.
Workout Instructions:
Follow along with the guided Lower Abs Workout Video on YouTube, led by certified personal trainer Lindsey Bomgren.
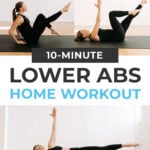
Your Workout Looks Like This:
- 10 Lower Ab Exercises
- Timed Intervals (60 seconds of work per exercise. Move directly from one move to the next, taking as few breaks as possible.)
- Repeat All 10 Moves x 1 Set (No Repeats)
Workout Outline
- Transverse Abdominal Breathing and Bent Knee Lifts
- Lying Single or Double Leg Extensions
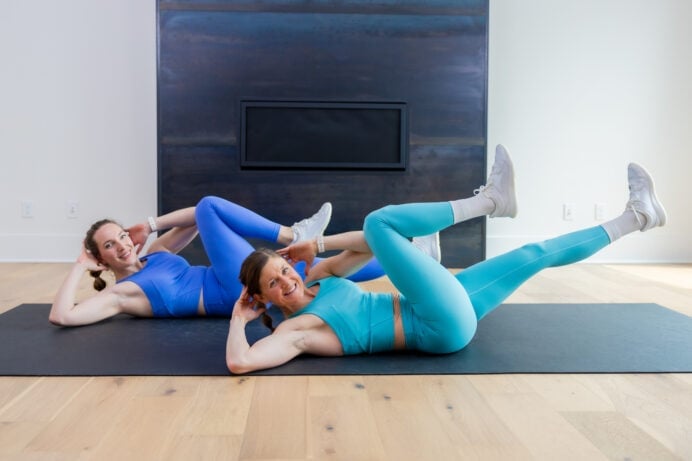
- Butterfly Crunch Leg Lowers and Heel Slide Out
- Ballerina Dead Bug
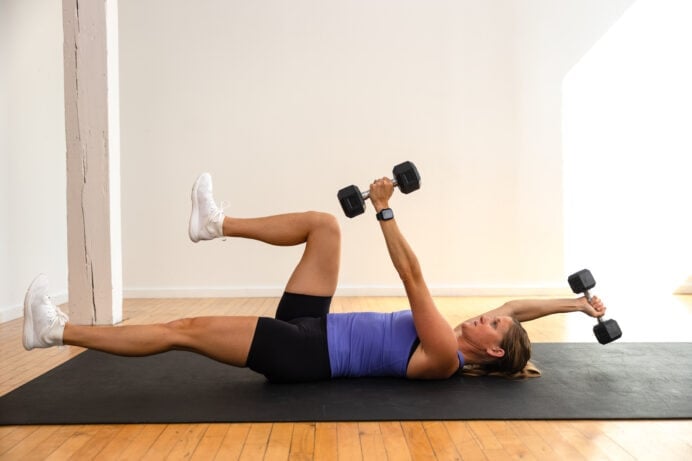
- Single Leg Kick Out and Press, R
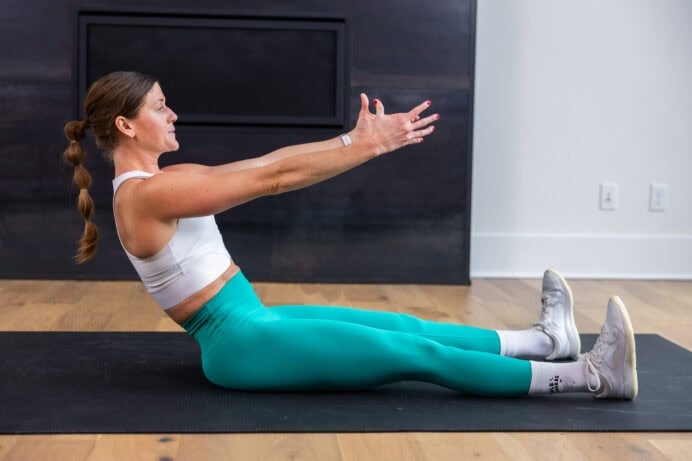
- V-Sit Alternating Leg Extensions
- Single Leg Kick Out and Press, L
- Lying Single or Double Knee Pulls
- Low Plank Pike Walk In
- Bear Crawl Toe Taps
10 Best Lower Ab Exercises For Women
Transverse Abdominal Breathing (Core Breathing) And Bent Knee Lifts
Targets: The deep transverse abdominal muscles (TVA) and pelvic floor muscles. These muscles support your internal organs, your inter-abdominal pressure system, and provide stability and mobility of your lower spine.
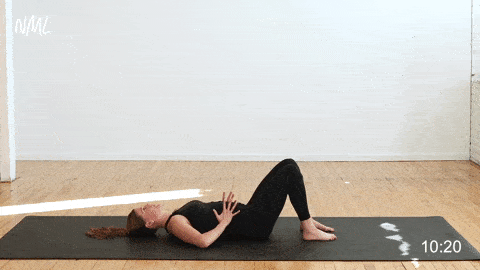
How To Do Transverse Abdominal Breathing And Bent Knee Lifts
- First, activate your transverse abdominis muscles. Lie flat on your back with your knees bent at 90 degrees and feet flat on the floor. Find your hip bones and move your fingers one inch inwards.
- To find your transverse abdominis muscles, fake cough. The muscles you feel ‘pop’ when you cough are your transverse abdominis muscles.
- To engage them, take a deep breath and allow your core and pelvic floor to relax. Imagine there is a string between your hip bones and as you exhale that string (or your TA muscles) is pulling your hip bones together.
- As you inhale, let the belly expand (let your back pop off the ground).
- As you exhale, pull the belly in tight and think about tucking the tailbone underneath you to press your back into the mat or wall.
- On the exhale, lift one or both knees up towards your chest; knees bent at 90 degrees.
- With control, return both feet to the mat.
Modification: Option to omit the knee lifts, focusing instead on the TA breathing to activate your transverse abdominal muscles.
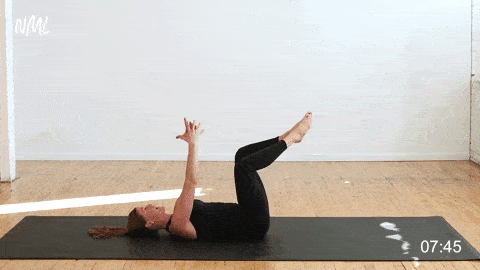
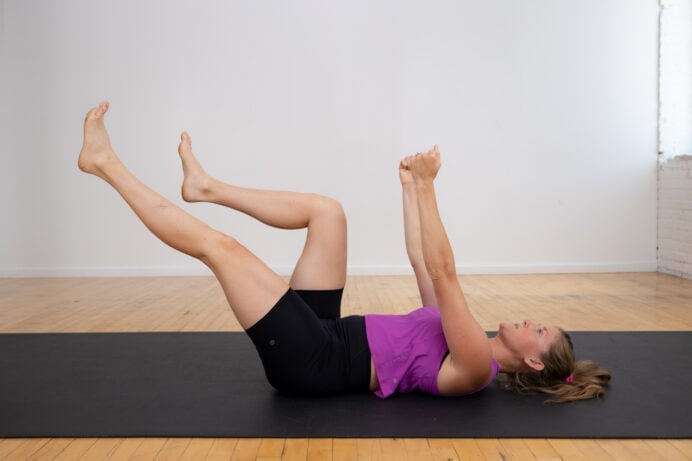
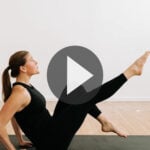
Lying Single Or Double Leg Extensions
Targets: Transverse abdomen, rectus abdominis, lower abs and hips.
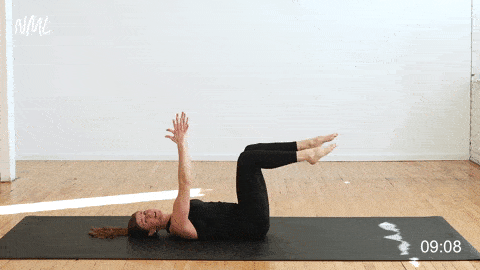
How To Do Lying Leg Extensions
- Start with your low back pressing firmly into the mat and your abdominal wall wrapped as tightly as possible around your core. Bring your legs to a 90-degree bend.
- Alternate extending one leg straight out. Option to extend both legs long at the same time to advance this exercise.
- Return to the starting position and repeat. This movement is slow and controlled.
- Note that the closer your knees are to your chest, the easier this ab exercise will be.
Modification: Option to place your hands on the mat at your side for support.
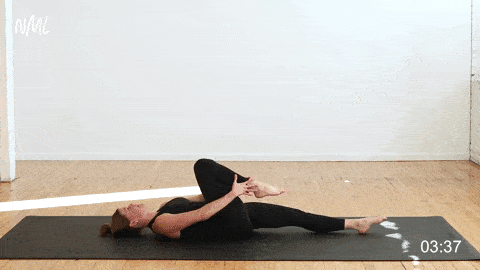
Butterfly Crunch Leg Lower And Heel Slide Out
Targets: Deep transverse abs, lower abs, pelvic floor and inner thighs.
How To Do Butterfly Crunch Leg Lower And Heel Slide Out
- Lie on your back with your arms extended by your sides and legs bent to 90 degrees (knees above hips). Bring the soles of your feet to touch, knees wide.
- Keeping your low back pressed into the floor (pelvic tilt), brace your core and slowly lower your heels towards the mat.
- Keeping your feet together, slide your heels out away from your body, ending with your legs extended.
- Then “scoop” your heels up off the mat, pulling your knees back towards your chest to return to the starting position.
Modification: Omit the heel slide and leg lift. Rather, with the soles of your feet touching and knees wide, lower your heels to the mat. Then, lift your legs to return to the starting position.
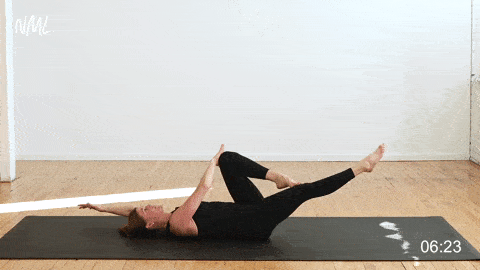
Ballerina Dead Bug
Targets: Transverse abdomen (deep core muscles below your rectus abdomen or six pack ab muscles), lower abs and hip flexors.
How To Do Ballerina Dead Bug
- Start lying on your back, core activated to press your lower back into the mat.
- Lift your knees to form a 90-degree angle (knees stacked on top of hips), and extend your hands straight overhead. Bring the soles of your feet to touch, knees wide.
- Contract your ab muscles as you extend your right arm overhead while simultaneously straightening your left leg. Return to the starting position.
- Then extend your left arm overhead while simultaneously straightening your right leg. Return to the starting position.
Modification: Reduce range of motion of your legs and arms to reduce the intensity of this exercise.
Single Leg Kick Out And Press
Targets: Deep transverse abdominal muscles (TVA), lower abs, obliques, thighs and pelvic floor.
How To Do A Single Leg Kick Out And Inner Thigh Press
- Start lying on your back, low back pressing firmly into the mat and your abdominal wall wrapped as tightly as possible around your core.
- Extend your right leg long, pressing the toes of your bent left leg into your right thigh.
- Place your right hand on your left knee (opposite hand to opposite knee). Think about intentionally pressing your right hand into your left knee to create tension in your core.
- Inhale, extending your left hand straight overhead.
- Then exhale as you squeeze your core to crunch, bringing your left hand up to press into your right hand. Hold, creating tension in your core.
- Inhale as you release, sending your left arm back overhead.
Modification: Keep your head resting on the floor throughout the movement. You can also reduce your range of motion (bending both legs to keep them closer to your body) to reduce the intensity.
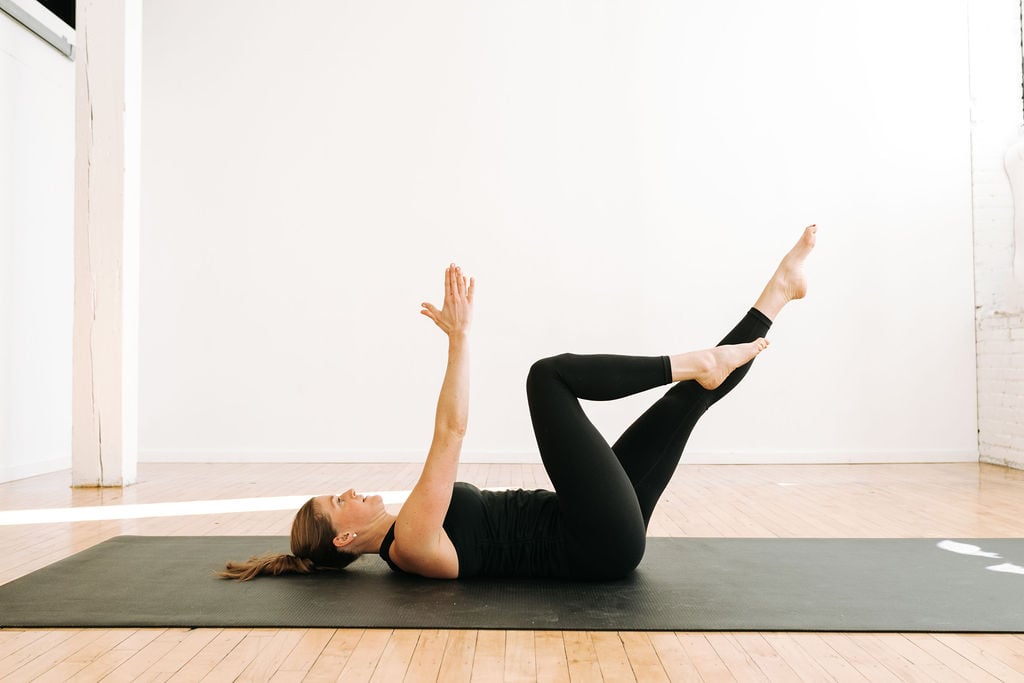
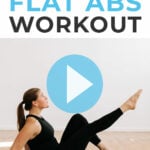
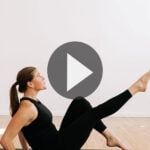
V-Sit Alternating Leg Extensions
Targets: Deep transverse abs, rectus abdominis, lower abs, top of the thighs and hips.
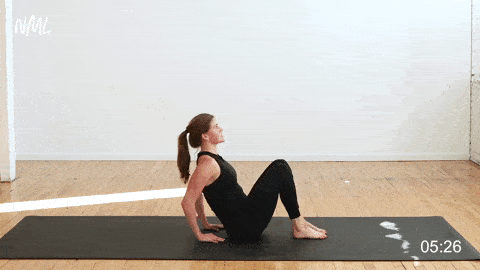
How To Do V-Sit Alternating Leg Extensions
- Start sitting on your mat on your “sit bones,” knees bent at 90 degrees and feet planted on the floor.
- Place your hands on the mat underneath your shoulders, elbows bent and fingers facing towards your seat. Your body should form a “V” shape between your torso and knees.
- Sit back towards your palms a few inches as you extend your left leg, sliding your left heel out away from your body.
- Engage the top of your left thigh and lower abs to lift your left leg off the mat.
- Then, slowly return your left heel to the mat and slide your heel back towards your seat; returning to the starting position.
Modification: Omit the leg lift and instead, alternate sliding your heels out away from your body and then sliding your heels back to the starting position.
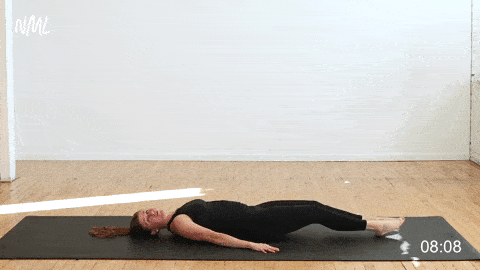
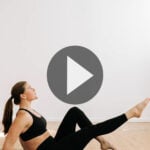
Lying Single Or Double Knee Pulls
Targets: Deep transverse abdominal muscles (TVA), lower abs and hips.
How To Do Lying Knee Pulls
- Start lying flat on the floor, lower back pressed into the mat with feet together and legs straight, extended long. Inhale, letting your belly expand.
- Exhale, pulling your core together and pressing your low back firmly into the mat.
- Then pull your right knee in to meet your chest, bending the right leg as you do so, feet are flexed and left leg remains straight out.
- Hold the right knee to the chest for a moment, then kick the right leg back out so both legs are kicked straight out again.
- Alternate the knee that pulls in throughout this movement.
- To make this more advanced, float both legs, hovering them off the mat. Option to add a crunch by lifting your head and shoulders off the mat as you pull your knee towards your chest.
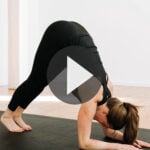
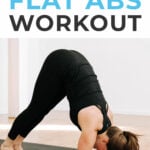
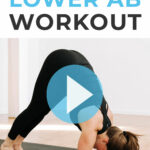
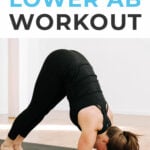
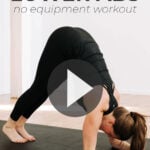
Low Plank Pike Walk In
Targets: Lower abs, core and shoulders.
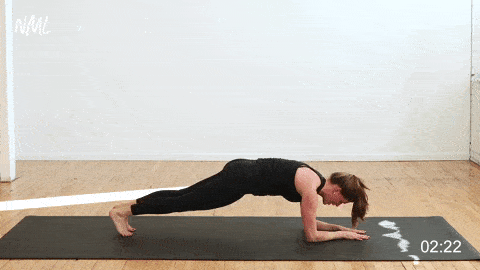
How To Do A Low Plank Pike Walk In
- Start in a low plank position, forearms on the mat, shoulders over elbows, core engaged.
- Slowly walk your toes in towards your elbows and “pike” your hips up towards the ceiling; creating an upside down “V” shape with your body.
- Then walk your feet back into a low plank position.
Modification: Option to hold a low plank from your knees or toes.
Bear Crawl Toe Taps
Targets: Deep transverse abs, rectus abdominis, lower abs, top of the thighs and shoulders.
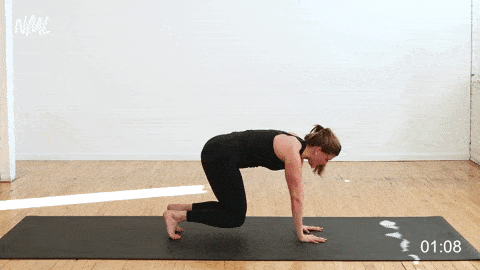
How To Do Bear Crawl Toe Taps
- Start in table top position, shoulders over wrists, hips over knees, core engaged and back flat.
- Curl your toes under, hovering your knees 1-2 inches off the mat. Hold this bear crawl position, palms pressing into the mat.
- Press your left palm into the mat as you bring your right hand back to tap your left toes.
- Return to the bear crawl position.
- Then switch sides, pressing your right palm into the mat as you bring your left hand back to tap your right toes.
Modification: Option to hold the bear crawl position (omitting the toe taps). Or perform bird dog from a table top position.
Free 7-Day Ab Challenge
FAQs
What Is The Best Exercise For The Lower Abs?
Variations of planks, dead bugs, and leg extensions are some of the best exercises to tone the lower abs. These exercises target the transverse abdominis (the deep core muscles) and the lower abdominal muscles. Find more of my favorite lower ab exercises here.
How Do I Target My Lower Abs?
This lower abs workout includes beginner and advanced modifications, making it great for anyone. Start with the beginner variations of these lower abs exercises and advance to the progressions as you build core strength. Ab workouts with weights also provide an effective way to strengthen and tone the low abs.
How Do I Tighten My Lower Belly?
Targeted lower ab exercises are a great place to start. That said, in my opinion (as a certified personal trainer), it isn’t effective to focus on spot reduction. These exercises are part of a well-rounded health and fitness routine, but eating in a calorie deficit, and increasing your resting metabolic rate are also important for overall fat loss and achieving that “toned” look.
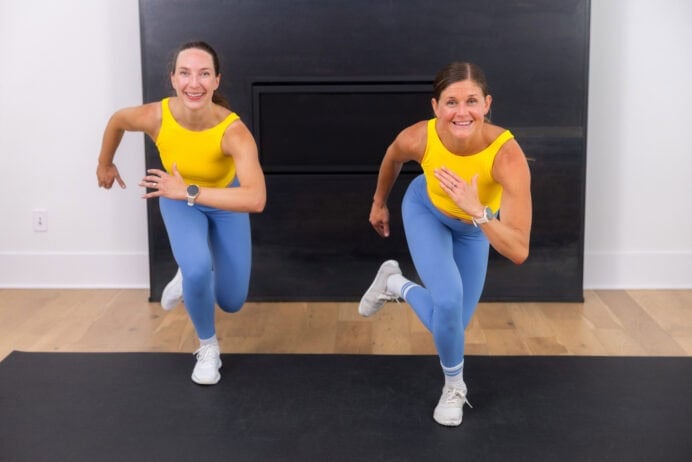
More Workouts
Abs + Core WorkoutsPin this 10-Minute Lower Abs Workout:
This post includes affiliate links. I do earn a commission for products purchased using these links (at no additional cost to you). Thank you for supporting Nourish Move Love, making the content you see on this blog possible.
4 comments


Anything for men that cover all of these areas for women?
Hi John, this workout is absolutely effective for men as well! -Lindsey
Great ab workout for all postpartum and moms!
Steph! I’m so glad you liked this ab workout. It really is a great routine for postpartum mamas! Thanks for giving it a try! -Lindsey