


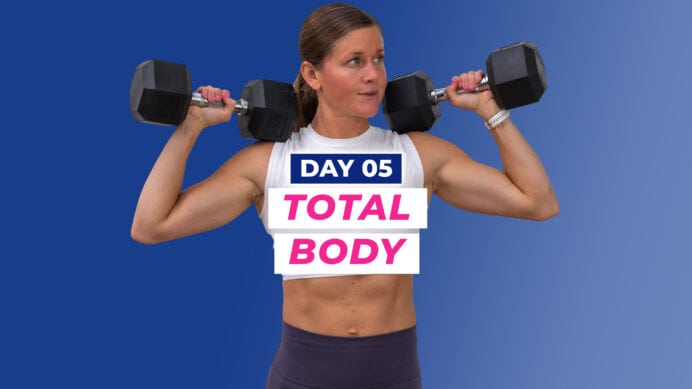
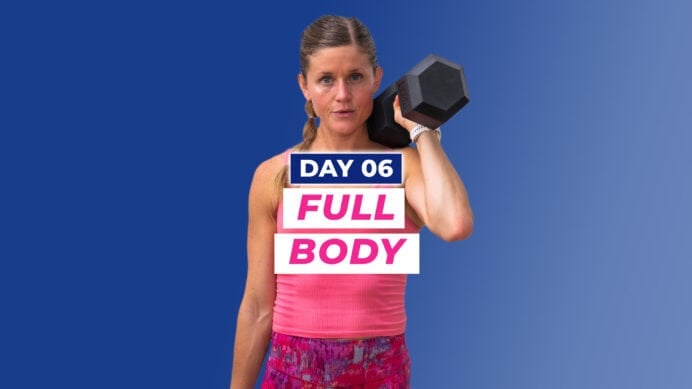
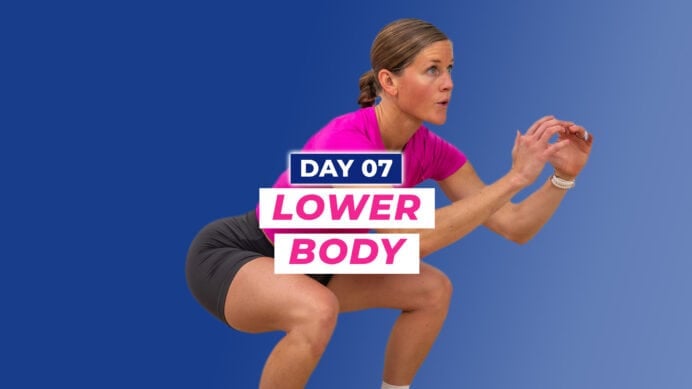
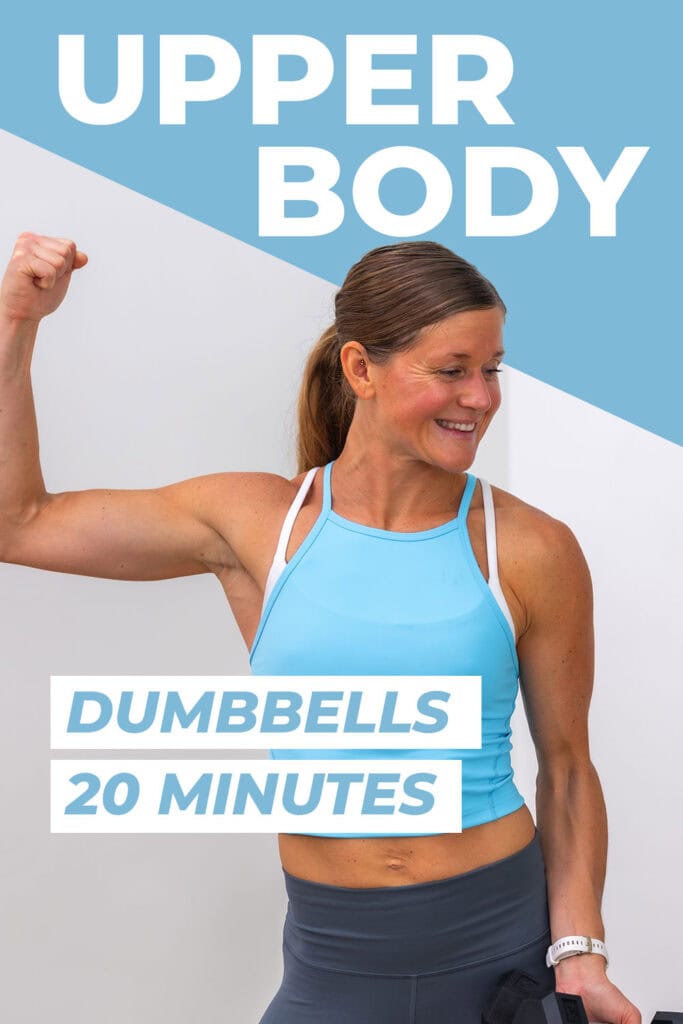
9 Arm Workout Exercises At Home
Build strong arms at home with these nine arm workout exercises. Each circuit in this upper body dumbbell workout includes a strength training exercise, stability exercise and power exercise. This is an effective arm day workout designed to build a toned upper body.
This is DAY FOUR of our Perform 20 Program.
LET’S GET STARTED
Download Your FREE Workout Plan Here
Download the PDF calendar for this workout plan so you can easily access your daily workouts.
Download Plan
In order to build toned arms, you need to increase strength and muscle definition in the upper body.
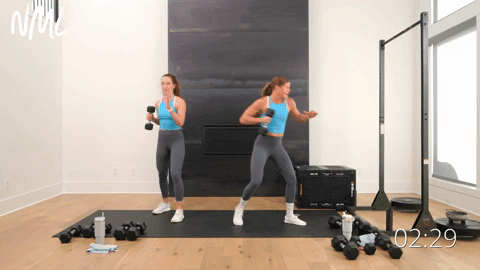
Day four of our 2-Week Perform 20 Dumbbell Workout Plan mimics the strength, stability and power format of day two. This workout combines some of my favorite dumbbell arm exercises with power and balance exercises.
This performance-based strength workout will challenge your muscular endurance through classic dumbbell arm exercises like back rows and chest presses.
This quick arm workout also includes stability exercises to challenge your balance and core strength, building muscle definition in the arms and abs.
This is a complete upper body workout at home with dumbbells.
The Ultimate Arm Workout Routine
Challenge your strength, stability and power in the upper body with this comprehensive arm day workout at home.
I suggest doing this arm workout once a week as part of a well-rounded workout routine.
Workout Equipment:
Medium-to-heavy set of dumbbells. We’re using 15-25 lbs. Optional pull up bar, long loop resistance band if needed (discount code: NML), and box/bench.
Workout Instructions:
Follow along with the guided Strength and Stability Arm Workout on YouTube, led by certified personal trainer and fitness instructor, Lindsey Bomgren.
Your Workout Looks Like This:
- 3 Circuits (3 upper body exercises per circuit)
- Timed Intervals (for the stability and power exercises, perform 30 seconds of work, then rest 15 seconds. For the strength training exercises, perform 40 seconds of work, then rest for 15 seconds. Complete as many repetitions as you can in the timed interval.)
- Repeat Each Circuit x2 Sets
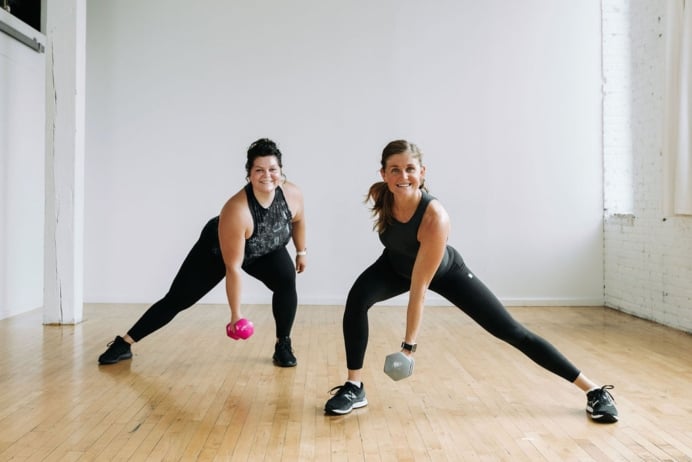
How To Design An Arm Workout At Home
CIRCUIT ONE: Back
- Stability: Bird Dog Single Arm Back Row
- Strength: Pull Ups
- Power: Wood Chop Sit Up
CIRCUIT TWO: Shoulders
- Stability: Balance External Rotation and L-Raise
- Strength: Arnold Press
- Power: Front Raise and Crossbody Chop
CIRCUIT THREE: Chest
- Stability: Push Up and Open to T
- Strength: Dumbbell Chest Press
- Power: Single Arm Crossbody Pivot and Press
9 Best Arm Exercises for Toned Arms
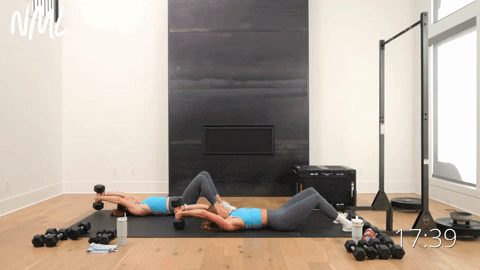
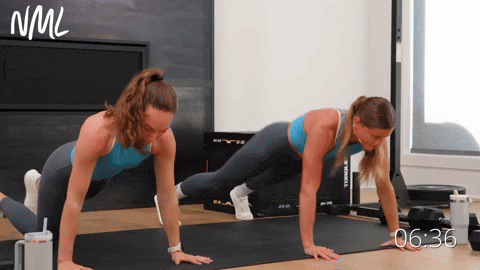
1. Bird Dog Single Arm Back Row
Targets: Upper arms, and lower back, lats, glutes, hamstrings, abs and core.
Unilateral (single-sided) exercises like this single arm dumbbell row also work the abs and core.
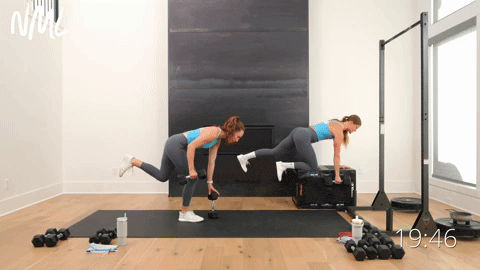
How To Do A Bird Dog Single Arm Back Row
- Find a quadruped position with your knees hip-width apart and hands firmly on the ground, about shoulder-width apart. Engage your core. Have one dumbbell on the ground in front of your left hand. Option to perform a bird dog row from a box or bench to increase core engagement and get greater range of motion.
- Find a bird dog position by sending your opposite (right) leg back, floating it off the ground.
- Perform a single arm row with your dumbbell hand, pulling the dumbbell back toward your left hip.
Modification: To challenge your balance and stability, take the single arm back row from a balanced standing position. Stand on one leg, kicking the back leg long behind you. Place the head of a sturdy dumbbell on the ground in front of you, and lightly rest your fingertips on the dumbbell to support yourself as you perform single arm back rows on the opposite arm.
2. Pull Ups
Targets: Latissimus dorsi (lats), erector spinae, trapezius (traps), long head and short head of bicep muscles, pectoralis major and minor (chest) and core.
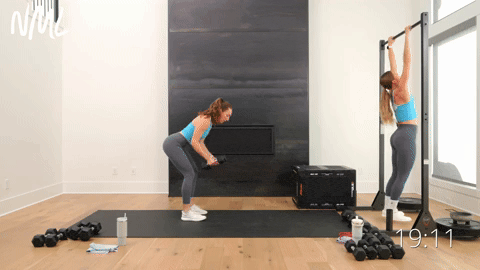
How To Do Pull Ups
- Start standing underneath your pull up bar, feet hip-width apart, neck and shoulders relaxed.
- Reach up and grip the pull-up bar with your palms facing away from your body (overhand grip), hands slightly wider than shoulder-width distance apart.
- Allow your body to hang freely with your arms fully extended.
- Initiate the pull up by squeezing your shoulder blades together and pulling your chest towards the bar. Keep your elbows pointed downward throughout the movement.
- Continue to pull your body, pulling your chest up until your chin is above the bar, or as high as you can comfortably go. Keep your core engaged and your body straight throughout the movement.
- Slowly lower yourself back down to the starting position, extending your arms fully.
Modification: Option to perform assisted pull ups with a long loop resistance band. Or, perform a dumbbell back fly.
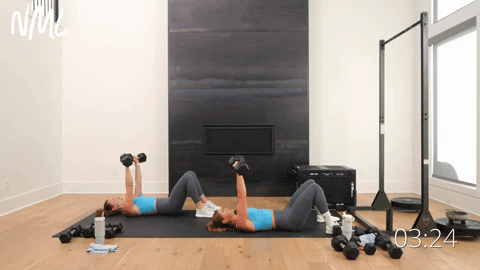
3. Wood Chop Sit Up
Targets: Core, lats (latissimus dorsi), pecs (pectoralis major and pectoralis minor) and shoulders.
How To Do A Wood Chop Sit Up
- Start laying on your back, knees bent and feet flat on the ground. Hold a dumbbell vertically between both hands overhead.
- Extend your arms straight above your head, keeping a slight bend in your elbows. This is your starting position. Engage your abs by drawing your belly button in towards your spine.
- Leading with the dumbbell, perform a sit up as you “chop” the weight up. Upper body lifts up off the mat as you come to a seated position, dumbbell tapping the floor between your heels.
- Then slowly lower your back to return to the mat, keeping your arms extended as you bring the dumbbell overhead, returning to starting position.
Modification: Perform dumbbell pullovers, omitting the sit up.
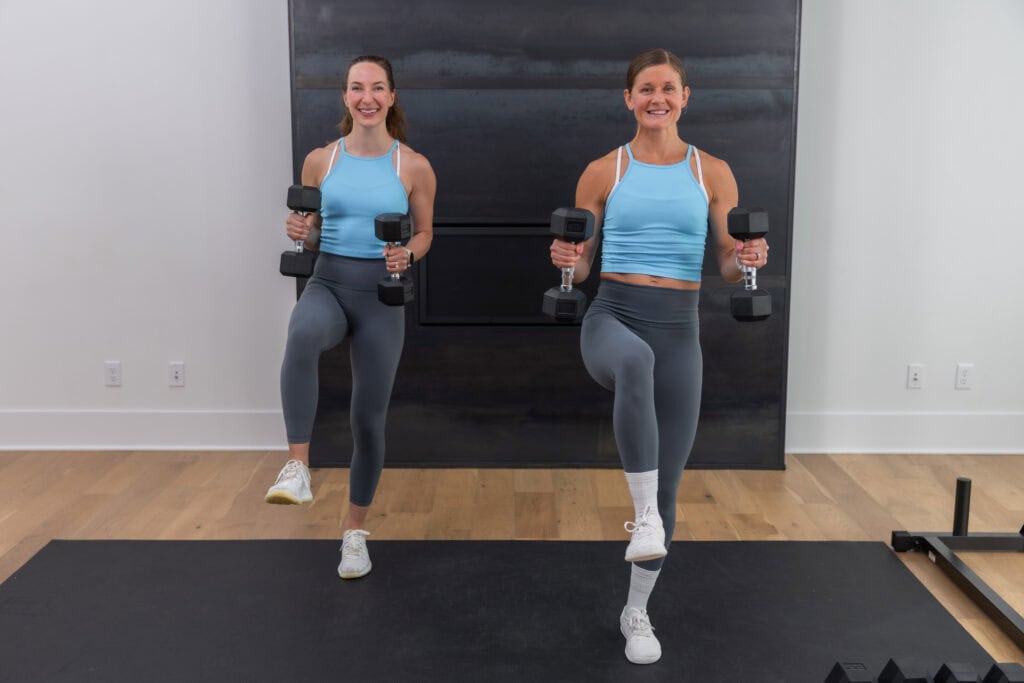
4. Balance External Rotation and L-Raise
Targets: Upper arm, shoulders (deltoids), rotator cuff muscles, biceps, chest and core.
How To Do A Balance External Rotation and L-Raise
- Stand with feet shoulder width apart. Hold a dumbbell in each hand in front of you, elbows bent at 90 degrees, elbows by your waist, and palms facing up towards the ceiling.
- Find a balance position by shifting your weight into your left foot, driving your right knee up, right thigh parallel to the ground.
- Keeping your elbows bent and your upper arms stable, slowly rotate the dumbbells out to your sides until your elbows are nearly facing each other, or you feel a stretch in your shoulders. Range of motion will be different for everyone.
- Then slowly and with control, bring the dumbbells back to starting position, maintaining a 90-degree bend in your elbows.
- Then perform a L-raise or L-fly by rotating the arms up until they are parallel with the floor, palms are now facing down (performing a lateral raise while maintaining a 90-degree bend in both elbows). Arms are in line with shoulders and elbows remain bent at 90 degrees. Avoid pulling the shoulders up to the ears.
- Lower the arms back down with control, flipping the palms so they are now facing up as you return to the starting position.
Modification: Omit the balance and stagger your feet, so your left leg is slightly in front of your right foot. Kickstand your back right foot, right heel floating off the ground and perform the external rotation and L-raise from this supported position.
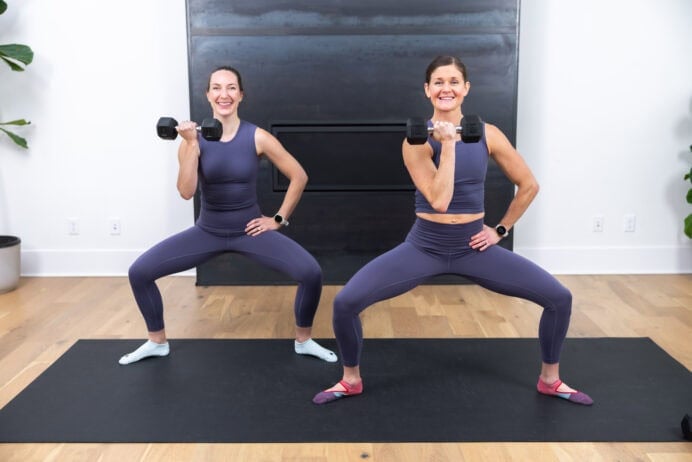
5. Arnold Press
Targets: All three heads of the deltoids, also known as your shoulder muscles.
The added rotation means this shoulder exercise hits the top of your arms from all angles.
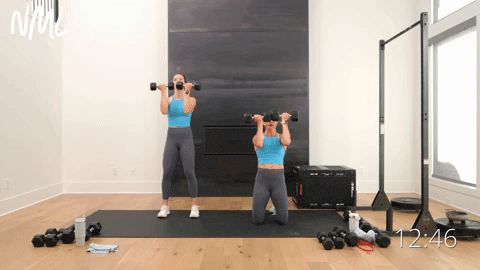
How To Do An Arnold Press
- Stand tall, feet shoulder-width apart. Start with a pair of dumbbells directly in front of your face at eye level (overhand grip, palms face your body). To make this more challenging, find a kneeling position, shoulders stacked over knees.
- Keep a slight bend in your knees, and be sure to engage your core and squeeze your glutes (to protect your low back) as you ‘goalpost’ your arms by turning the palms out so they’re facing away from your face; elbows parallel to shoulders.
- Then exhale as you perform an overhead shoulder press, pushing the weights up, locking out your elbows (biceps by ears), arms straight overhead.
- Slowly lower the weights back down to the starting position, rotating your palms back in towards your face, and repeat.
Modification: Option to alternate arms, performing just one side at a time.
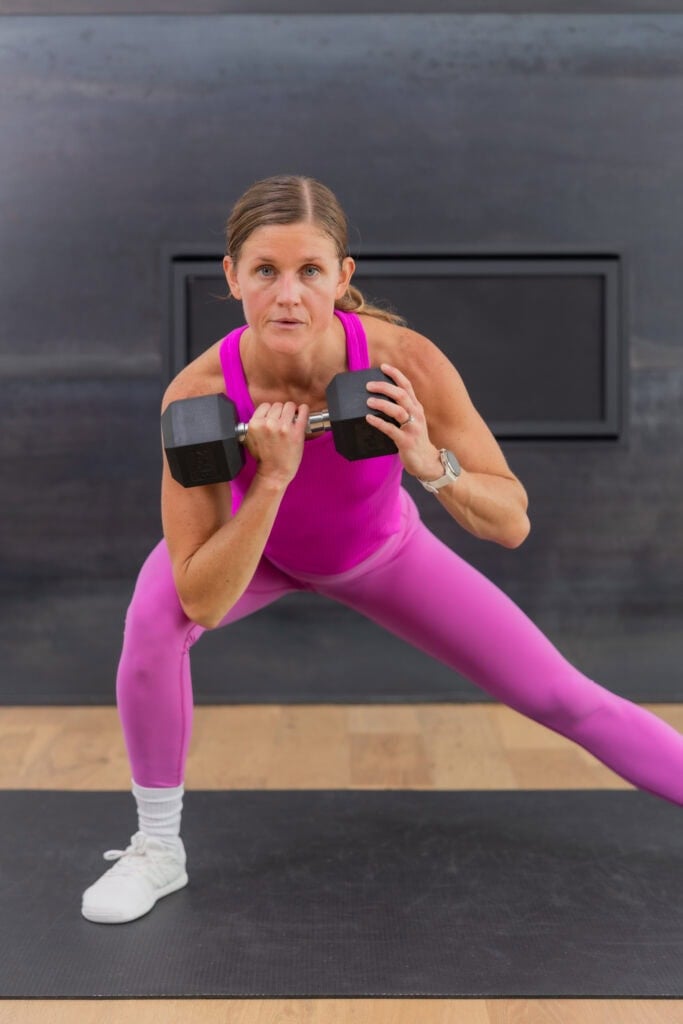
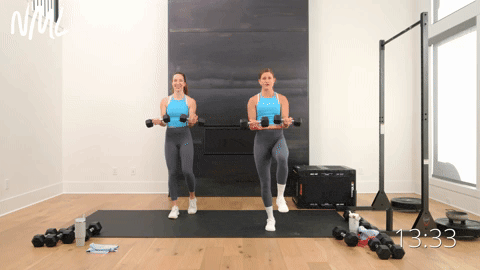
6. Front Raise and Crossbody Chop
Targets: Anterior and lateral deltoids (shoulders), upper back (traps), arms, abs, internal obliques, external obliques, deep transversus abdominis muscles and hips.
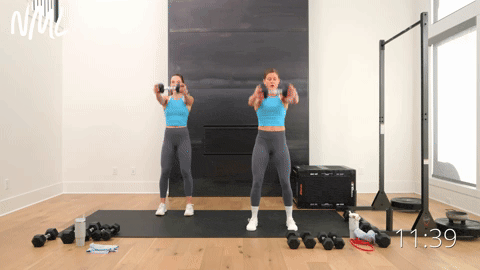
How To Do A Front Raise and Crossbody Chop
- Start standing, feet hip-width apart, slightly bent knees. Hold one dumbbell horizontally in front of you, a head of the dumbbell in each hand.
- Perform a dumbbell front raise by lifting the dumbbell straight out in front of you, raising the dumbbell to shoulder level.
- With control, lower the dumbbell back down to the starting position.
- Then, bend your knees slightly and exhale, using your legs, hips, glutes, abs and obliques to drive the dumbbell crossbody, extending your arms up overhead on the right side.
- Lower the dumbbell down with control, returning to the starting position.
7. Push Up and Open to T
Targets: Chest, shoulders, triceps, back, abs and core muscles.
How To Do A Push Up and Open to T
- Start in a standard high plank position with your shoulders stacked over your wrists, weight evenly distributed amongst all 10 fingers. Pull your kneecaps up towards your belly, feet hip-width apart. Option to place your hands on weights if you have wrist pain.
- Hold this plank position, maintaining a straight line with your body, gaze slightly in front of you.
- Slowly lower your chest down towards the ground as your elbows fall back towards your hips (not out to the sides, keep elbows tight to the body).
- Once at the bottom of your push up, exhale as you push back up into high plank position (top of your push up position).
- Then, hold high plank, keeping your core stable. Flex your core and open into a side plank as you pull your right hand overhead. Hold this position for a moment as your body mimics a sideways “T” shape. Hips high and obliques turned on.
- With control, lower the right hand back down to the mat as you return to the starting position.
Modification: Substitute incline push-ups by placing your hands on a chair or bench; or drop one knee to the ground, performing a three point push up and open to T.
8. Dumbbell Chest Press
Targets: Chest (pecs), shoulders (deltoids) and triceps.
How To Do A Dumbbell Chest Press
- Lay flat on your back (on the ground, on a bench, incline bench, or on a stability ball) with knees bent and feet flat on the floor. Hold one dumbbell in each hand (palms facing knees), elbows bent at a 90-degree angle.
- Exhale as you push both dumbbells overhead at the same time; dumbbells stacked over shoulders at the top of the press. Make sure your wrists are strong and in line with your shoulders.
- Lower the dumbbells back towards your chest with control.
9. Dumbbell Single Arm Crossbody Pivot and Press
Targets: The entire core, specifically the deep stabilizing muscles of the core; hips, glutes, shoulders and upper body.
How To Do A Single Arm Crossbody Pivot and Press
- Start standing, feet shoulder-width apart, knees slightly bent. Hold one dumbbell in your left hand at chest height.
- Pivot to the right as you push the dumbbell hand across your body and to the right. Aim to press the dumbbell as far away from your body as possible. Toes follow hips (left toes pivot right, following the hips as they turn to the right).
- Bring the dumbbell back in towards your chest as you pivot your hips and toes back to center, returning to the starting position.
Modification: Hold one dumbbell in your left hand and press the dumbbell out directly in front of you, omitting the pivot.
FAQs
What Exercises Should I Do To Get Toned Arms?
Weight training builds muscle mass, which is exactly what you need if you want to look “toned.” Simply put, looking “toned” means you have muscle and a relatively low amount of body fat, making your muscle definition visible. So, to improve definition in your arms, you need to lift weights that are heavy enough to build muscle and burn fat. You’ll know you chose the right weight if the last 2-3 reps in a set are challenging (The American Council on Exercise).
How Long Does It Take To Get Toned Arms?
This depends on how often you are training arms and at what intensity. If you are lifting heavy weights and following a well-rounded strength training program, you can expect to see and feel physical changes after about 4-8 weeks of consistent lifting. But building upper body strength takes time and requires progressive overload. Your last 2-3 reps of each set should feel challenging to complete with good form. If the last 2-3 reps feel easy to complete, it’s time to increase your weights.
Perform 20: FREE 2-Week Dumbbell Workout Plan
A 2-week performance based strength training program designed to build muscle in 20 minutes a day.
If you liked these arm workout exercises, download the FREE 2-Week Dumbbell Workout Plan.
Up Next:
See AllPin This Workout: Arm Day Routine
This post includes affiliate links. I do earn a commission for products purchased using these links (at no additional cost to you). Thank you for supporting Nourish Move Love, making the content you see on this blog possible.
4 comments
Hi. I’m 70 and have just got back into weightlifting 5 months ago, but haven’t seen the results I was hoping for. I workout (full body) 2-3 times a week. Can you suggest where I should start with your program? I need help, thanks.
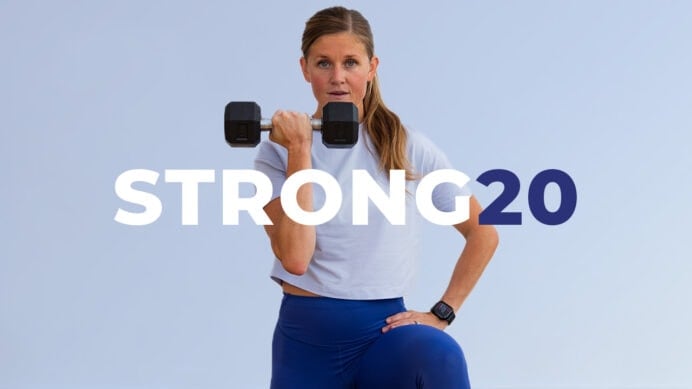
Hi Sonia! I’d recommend trying a split training program with dedicated arm workouts, leg workouts and full body workouts. Split training may be helpful in helping you reach your goals. Search “Strong 20” on our website for a place to start! -Lindsey
I just have to say, I am loving the layout of your blog post with the Perform 20 program. I love that you actually have short snip its showing how a work out is done properly. Since I can only work out after work, I like to read your blog post to get myself prepared and have some idea what I am suppose to do.
I am so glad the blog post format is helpful! Thanks, Erica! -Lindsey