


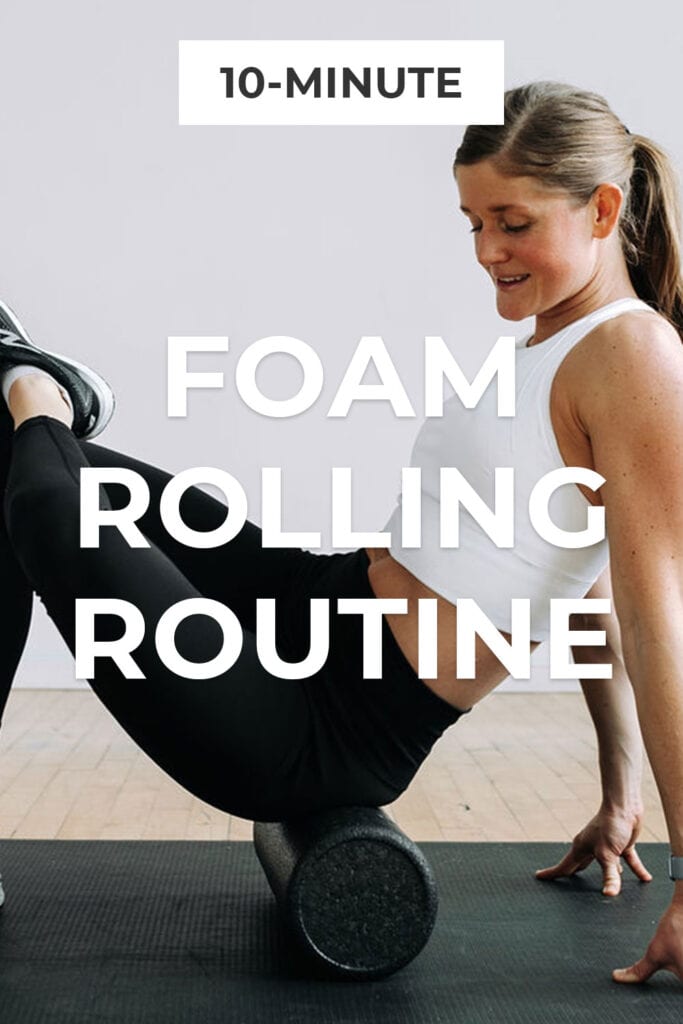
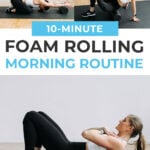
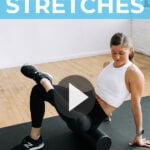
8 Best Foam Roller Exercises (Recovery Day Foam Roller Stretches)
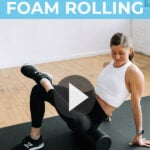
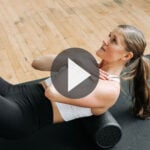
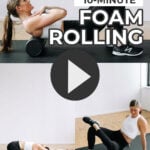
Release tight hips, hamstrings and back muscles with these 8 foam roller exercises. This guided, 10-minute foam rolling routine is perfect for your next recovery day. Release sore muscles, increase range of motion and flexibility, and reduce risk of injury.
Reduce muscle soreness, increase range of motion, and ultimately improve your workouts with these foam roller exercises.
If you do my home workout plans, you’ve likely seen this full body stretch and active recovery yoga on your rest days.
Today’s foam rolling exercises are a great addition to your mobility and recovery sessions.
According to research published in The Journal of Athletic Training, foam rolling after a workout significantly decreases soreness up to 72 hours after a workout.
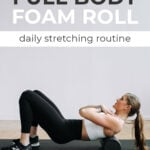
Add these 8 foam roller stretches to your daily mobility routine to increase range of motion, decrease soreness, and aid in muscle recovery.
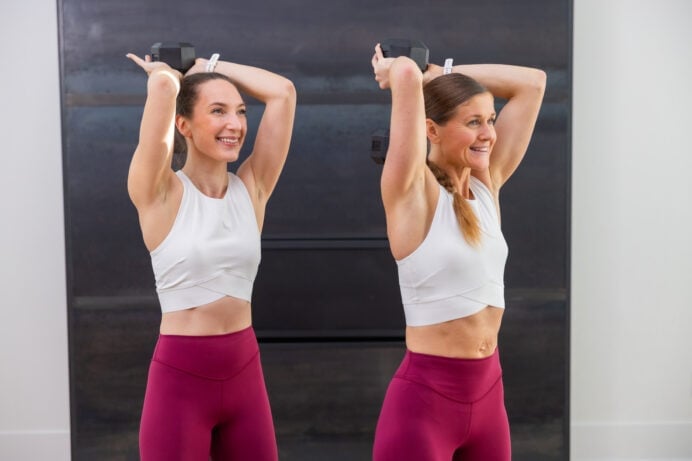
Free 2-Week Strength Program
Foam Roller Exercises FAQs
What Is Foam Rolling?
Foam rolling, or using a hard foam tube to roll out your muscles, is a form of self-myofascial release (SMR) that uses pressure to increase blood flow to tight muscle groups. It’s a self-massage technique commonly used by physical therapists and personal trainers to relieve pain. This form of stretching releases tension in ways that traditional (or passive) stretching cannot.
What Are The Benefits Of Foam Rolling?
Foam rolling improves range of motion, decreases soreness, alleviates tightness or trigger points, increases blood flow and flexibility, aids in injury prevention, aids in muscle recovery, and increases flexibility without hampering muscle strength. Foam rolling is for everyone, whether you maintain a rigorous fitness routine or sit at a desk all day.
Should I Foam Roll Before Or After A Workout?
Both are great options that serve different purposes. Foam rolling before a workout will increase blood flow to that muscle group (which is ideal for warming up). Foam rolling after a workout will force your muscles into a deep relaxing state. I recommend foam rolling on recovery days (when you have no workout scheduled) to decrease muscle soreness and increase mobility.
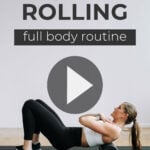
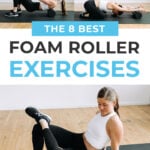
The 8 Best Foam Roller Exercises
Improve mobility, reduce muscle soreness and reduce risk of injury with these foam rolling exercises.
Use these foam roller exercises in your warm up to increase blood flow and range of motion, or use this foam rolling routine in your cool down to release tension, relieve tight muscles and speed up muscle recovery.
I suggest incorporating recovery workouts like this one to your home workout plan 1-2 times per week to protect and maintain healthy joints and muscles.
Workout Equipment:
A foam roller.
If you’re more advanced in SMR, you can use a trigger point foam roller or lacrosse massage ball.
Workout Instructions:
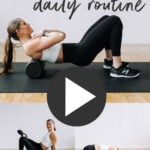
Follow along with the guided Foam Roller Stretches on YouTube, led by certified personal trainer, Lindsey Bomgren.
Your Workout Looks Like This:
- 8 Foam Roller Exercises
- Timed Intervals (Hold each stretch for about 60 seconds. Note: hold any tender spot or trigger point for 30 seconds.)
- Perform All 8 Exercises x1 Set
Workout Outline
- Chest Opener
- Upper Back Roll
- Groin/Hip Roll
- Quadriceps Roll
- Glute/Piriformis Roll
- Hamstring Roll
- Calf Roll
- Child’s Pose
Prefer to Watch On YouTube?
8 Best Foam Rolling Exercises
Chest Opener
Targets: Upper body (specifically the chest muscles).
If you spend your day hunched over a computer (or baby), this chest opening stretch is going to feel amazing. I have a shorter foam roller, so I also use a yoga block to support my head and neck.
How To Do A Chest Opener On A Foam Roller
- Lay on top of the foam roller vertically. Have the roller positioned between your shoulder blades (in the middle of your back). If your foam roller is not long enough, add a yoga block to make sure your neck and head are also supported.
- Inhale to prepare. As you exhale, open your arms towards your sides, letting your arms fall open to open the chest.
- Hold this pose, arms extended out to the sides. Option to “goal post” your arms (90-degree bend at the elbows) to intensify this chest opening stretch.
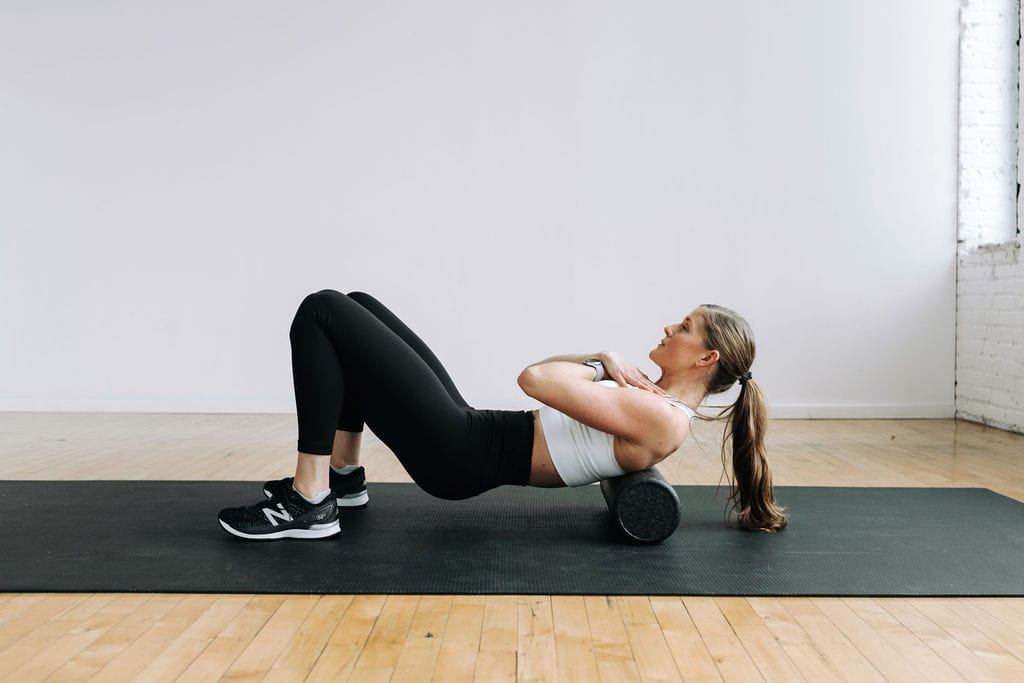
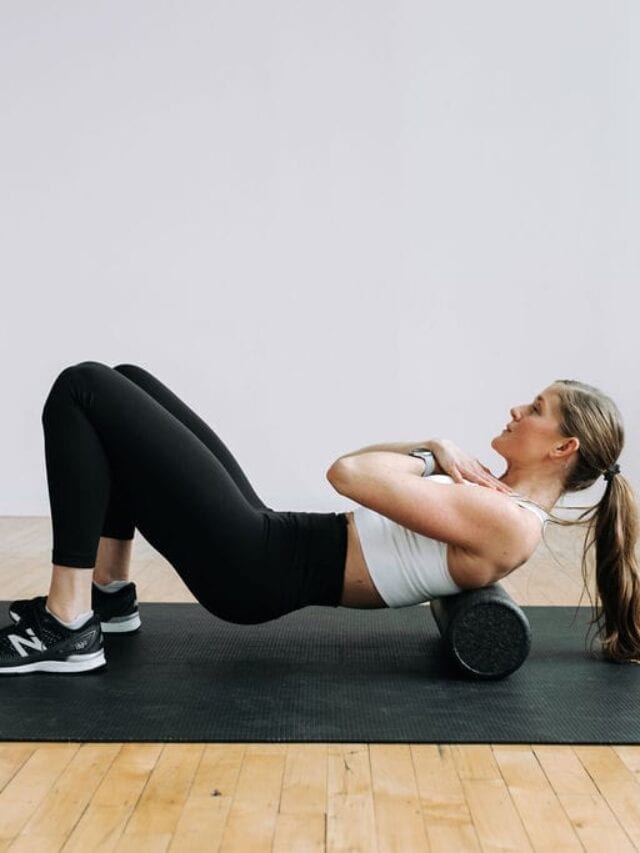
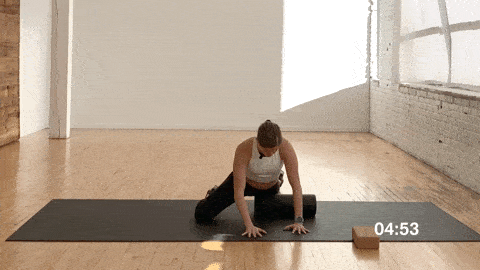
Upper Back Roll
Targets: Upper back and shoulders.
A lot of people tend to carry their stress here, so this is a great way to work out muscle knots, kinks or tightness.
How To Do An Upper Back Roll On A Foam Roller
- Sit on the floor and place the foam roller horizontally under the upper back (around the bottom of your sports bra), resting hands across your chest or behind your head.
- With feet flat on the ground and glutes slightly lifted off the mat, bend your knees to roll slowly up your back, towards your shoulders.
- Then exhale, contracting your abs as you lift your neck and shoulders slightly up to roll the foam roller back down to the mid-back. Think of doing a half-crunch as the roller goes down the back.
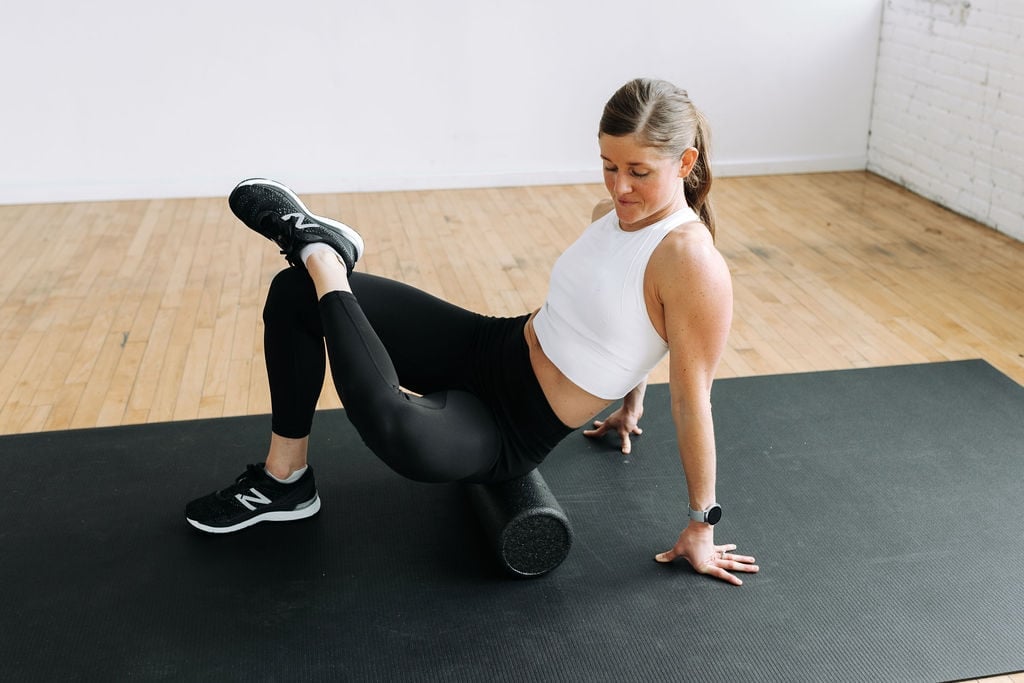
Hips And Hip Flexor Roll Or Groin Roll
Targets: Hips and hip flexors.
Slowly roll back and forth to open and release tight hips.
How To Stretch Your Groin And Hips On A Foam Roller
- Lie face down with your right leg on top of the foam roller so it’s against your upper inner thigh.
- Shift as much weight onto the foam roller as is tolerable, left and right forearm on the mat.
- While trying to relax the muscles of the inner thigh, roll over the area at your hips.
Quadriceps Roll
Targets: Mainly the quads (which are involved in almost every workout we film. In fact, many people tend to be quad-dominant).
There are four quadriceps muscles and they all attach to the knee cap. Foam rolling the quads can improve the flexibility of the knee (and decrease knee pain) and improve hip mobility.
How To Do A Quadriceps Roll On A Foam Roller
- Lie face down with your right leg on top of the foam roller so it’s against your upper thigh. Left leg is bent at 90 degrees, left knee resting on the ground beside the foam roller.
- Shift as much weight onto the foam roller as is tolerable.
- While trying to relax the muscles of the thigh, roll over the area between your hip and knee.
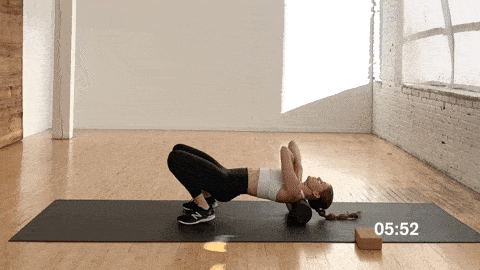
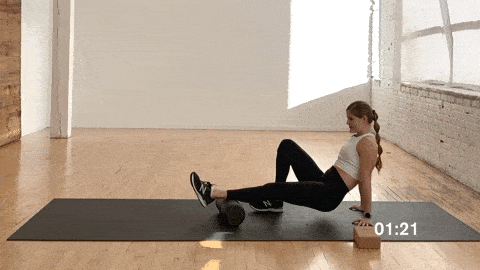
Glute and Piriformis Roll
Targets: The glutes (the largest muscle in the body) and the piriformis (a deep, small muscle located between your glutes and hip joints).
If you want better squats (improved hip mobility and range of motion), foam roll your glutes.
How To Foam Roll The Glutes And Piriformis
- Sit on the foam roller with your left glute/hip, crossing your right leg over your left knee and leaning toward the left hip. Support your weight in your hands on the floor as needed.
- Shift as much weight onto the foam roller as is tolerable.
- While trying to relax the glute muscles, continue leaning into the left hip as your slowly roll over the left glute and butt muscle.
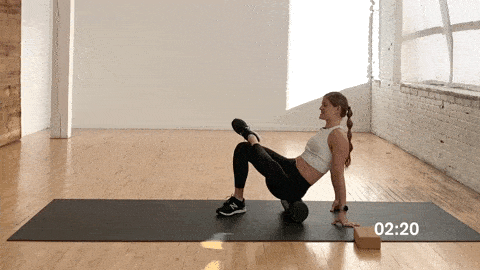
Hamstring Roll
Targets: The hamstrings, hips and low back.
This hamstring stretch is great for anyone who spends their day sitting down, as it lengthens and releases tense muscles along the back of the legs. This improves hip mobility and decreases stress on the lower back.
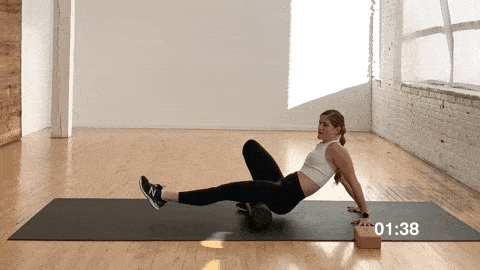
How To Do A Hamstring Stretch With A Foam Roller
- Sit on the foam roller with your right leg/hamstring on the foam roller. Left knee should be bent at 90 degrees on the ground to support you. Hands should be on the ground behind you to support you.
- Shift as much weight onto the foam roller as is tolerable.
- While trying to relax the hamstring muscles, roll up and down from knee to right glute (butt cheek).
Calf Roll
Targets: The calf muscle.
If you’re a runner or do workouts with jumping, this calf stretch will increase ankle mobility.
How To Foam Roll Your Calf Muscles
- Sit on the floor with the foam roller underneath your right calf. Left knee should be bent at 90 degrees on the ground to support you. Hands should be on the ground behind you to support you.
- Shift as much weight onto the foam roller as is tolerable. If you need more leverage you can cross your left leg on top of your right shin.
- While trying to relax the calf muscles, roll up and down from knees to ankles.
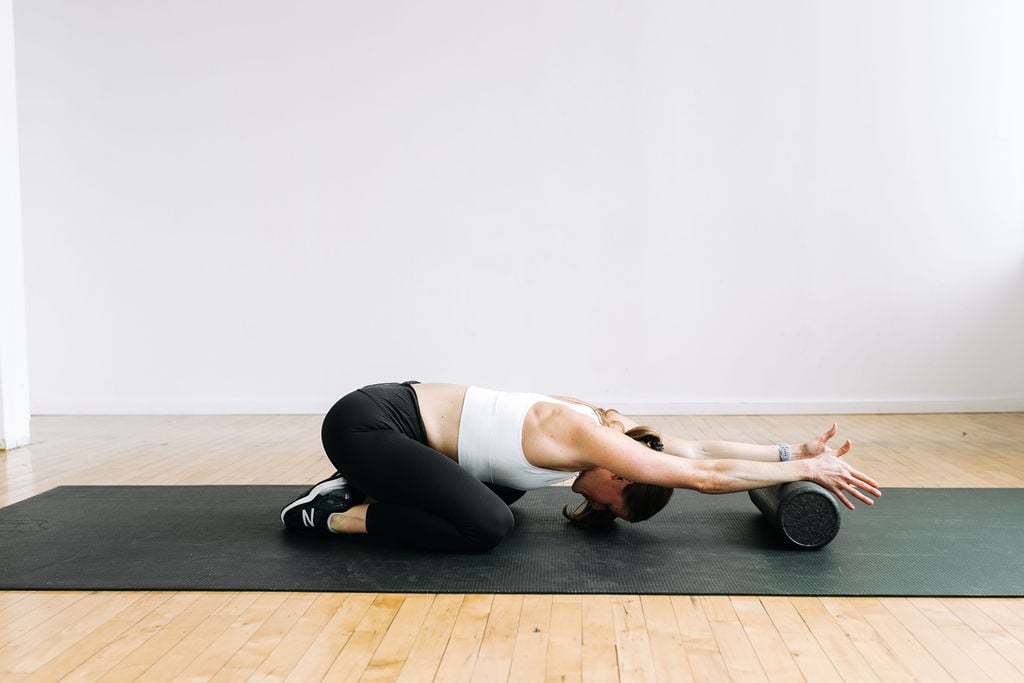
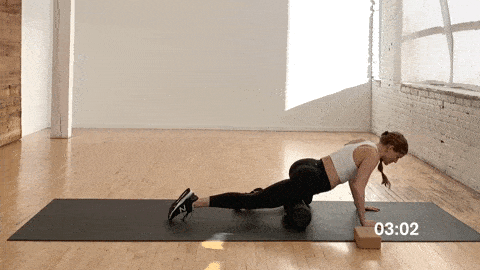
Child’s Pose With Overhead Arm Extension On Foam Roller (Thoracic Spine Extension)
Targets: The hips and all the muscles along the back of the body (posterior chain).
This stretch provides extension, creating length from the tailbone to fingertips (or thoracic spine).
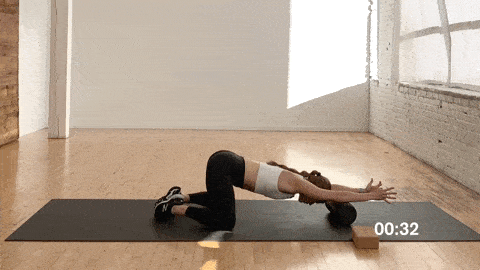
How To Do Thoracic Spine Extension On A Foam Roller
- Start in child’s pose; big toes to touch, hips open, pushing hips back towards your heels. Place your hands on the foam roller, thumbs up towards the ceiling.
- Roll the arms forward, extending your arms as far away from your hips as possible and allowing your head to fall between your arms. Maintain a neutral lower back.
- Hold the extension for 5-10 seconds, continuing to reach your fingertips away from your body.
- Then roll the hands back towards the body and repeat the extension roll out.
More Stretches
Stretch RoutinesPin This Routine: 8 Foam Roller Exercises
This post includes affiliate links. I do make a small commission for products purchased using these links (at no additional cost to you). Thank you for supporting Nourish Move Love, making the content you see on this blog possible.
4 comments
I was so excited when I saw you publish this and just got to try it! These are definitely some moves to consider adding into the routine I’ve been doing. I really like your full-body stretch routine, but this is a calmer, slower way to get into the muscles and good for changing things up. Thanks for sharing!
Sarah! So glad you’re putting these foam roller exercises to good use! Keep up the great work and stay tuned for another mobility routine coming soon! -Lindsey
Love your workouts! Friendly correction: its not “pirifemoris” its “piriformis”, pronounced “peer-uh-form-is”.
So glad you’re loving the workouts Rachel! And yes, if you read this post you’ll noted I have it written as piriformis! Thanks, -Lindsey