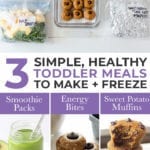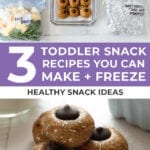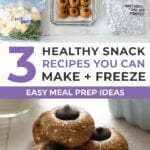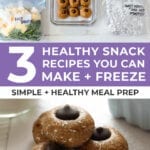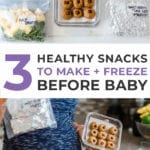
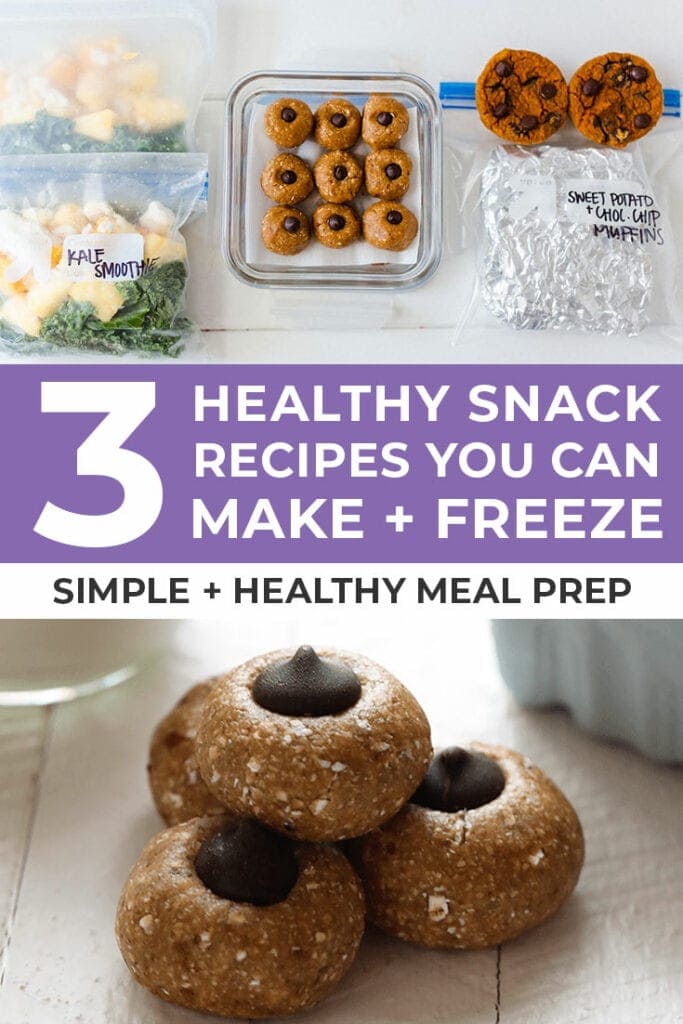
3 Healthy Snack Ideas to Meal Prep + Stock Your Freezer
Three healthy snack ideas you can meal prep and store in the freezer! Whether you’re stocking your freezer to prepare for the arrival of a new baby or wanting to have EASY toddler meals on hand; these three healthy snack recipes satisfy any sweet tooth {and they’re refined sugar-free}!
*If you’re having trouble seeing the video above, try turning off or pausing your ad-blocker. If you prefer, you can also view this video, ‘3 Healthy Snack Ideas to Meal Prep and Stock Your Freeze’ on YouTube here.
This is the third and final post of my Freezer Meal Prep Series. You can find posts one and two of this easy freezer meals series below:
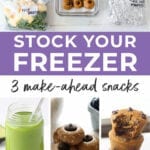
We’ve covered breakfast and dinner, and now I’m excited to share how I meal prep HEALTHY SNACK IDEAS {which also double as toddler meals and snacks}!
Snacks are my current lifeline; new mamas you know what I’m talking about!
And since these three healthy snack recipes are toddler and kid-friendly they are keeping our whole family fueled. From me, the always-hungry nursing mama, to my snack-loving toddler and husband.
Snacks are a necessity to ANY kind of ‘adventure’ we take. Target run, pack a snack. Hour car-ride to grandma and grandpas house, pack multiple snacks. Meltdown…SNACK {and I’m not just talking about for my toddler — hanger and hormones is not a good combo}.
These three snack ideas are my current go-to, healthy recipes. They have a simple ingredient list, they’re easy to make in bulk AND they store well in the freezer. I’m all about batch meal prep.
Cook and wash dishes once, but enjoy these freezer-friendly snacks for weeks!
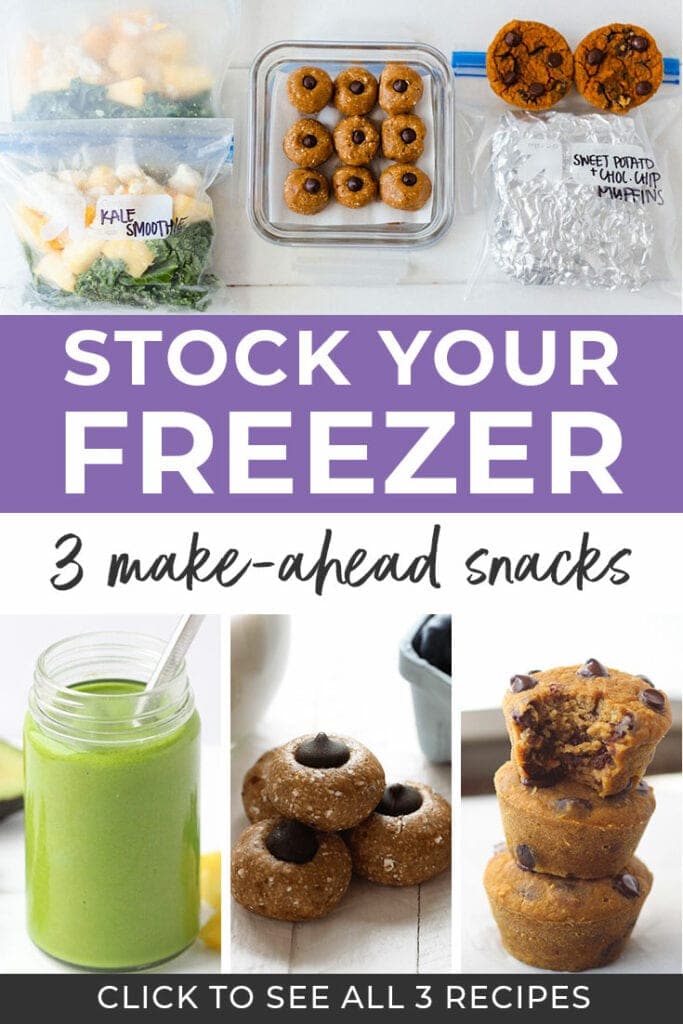
3 Healthy Snack Ideas {and toddler meals} to Meal Prep + Freezer
Quick Links Within This Post (jump directly to the recipe you’d like by clicking the link below):
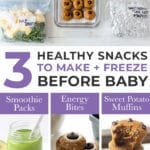
Meal Prep Kale Smoothie Packs + Smoothie Popsicles
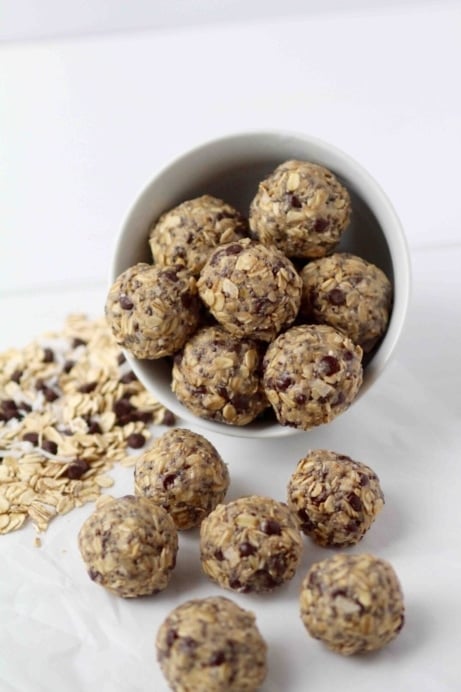
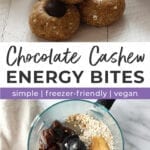
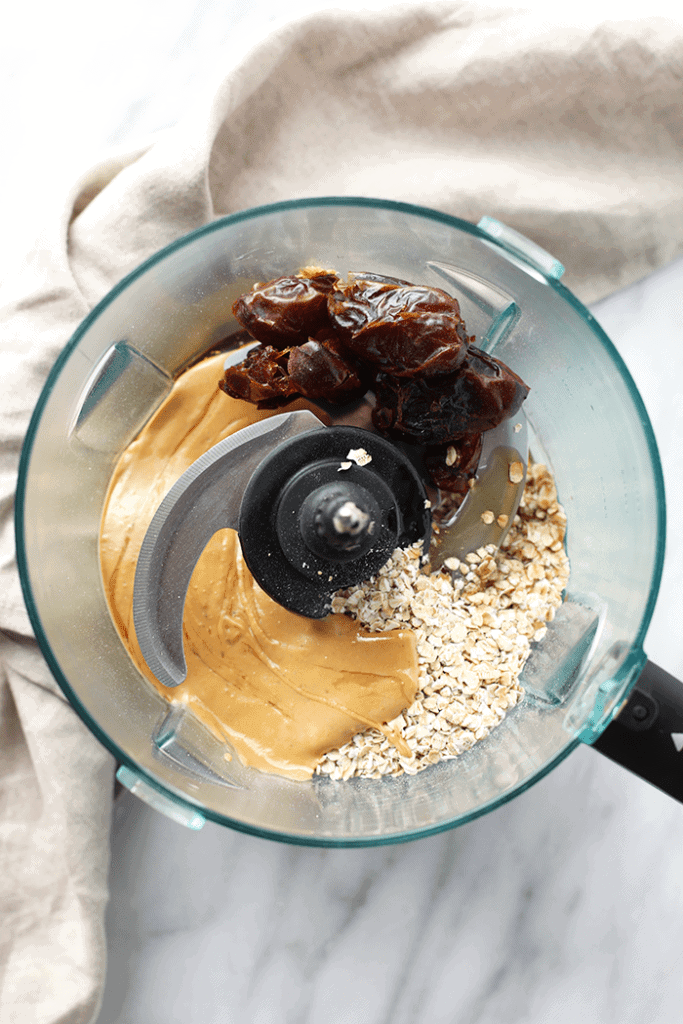
Cashew Butter Energy Bites
Energy balls and bites are a snacking STAPLE in our house. These cashew butter energy bites are like a DIY version of the Cashew Cookie LARABAR made even better with sea salt and optional dark chocolate chips!
I like to meal prep a double batch of these energy balls to have on-hand for busy days. Not only do they make a great gluten-free addition to any lunchbox, but they’re the perfect post lunch or dinner sweet treat you crave.
The most time consuming part of this recipe is soaking the dates, and that’s completely hands-off! Once the dates are soaked, you simply throw everything in a food processor for 2-3 minutes, and then start rolling. If you want to make it even easier, you can press the ‘dough’ into a 9×9 inch pan and chill before slicing into ‘energy bars’.
I personally love making these energy bites with cashew butter, but feel free to sub any kind of drippy nut butter, like almond butter or seed butter you have on hand. And always add extra sea salt for that sweet and salty combo.
This recipe is great for anyone, but especially beneficial for women who are breastfeeding. I actually first tried this recipe when Brody B was born, and the amazing Fit Foodie Finds team brought them over!
We originally called them ‘Boobie Balls‘ because they’re so great for lactation and mamas milk supply:
- Oatmeal is high in iron. Mayo Clinic recommends that new moms eat a diet rich in protein and iron to help keep up their milk supply while nursing {Mayo Clinic}.
- Dates are high in fiber, which can help with constipation, and are considered to be one of the fruits that supports milk production {Live Strong}.
- Cashew butter is a great source of protein and healthy fats to keep moms fueled.
Freezer Meal Prep Tips
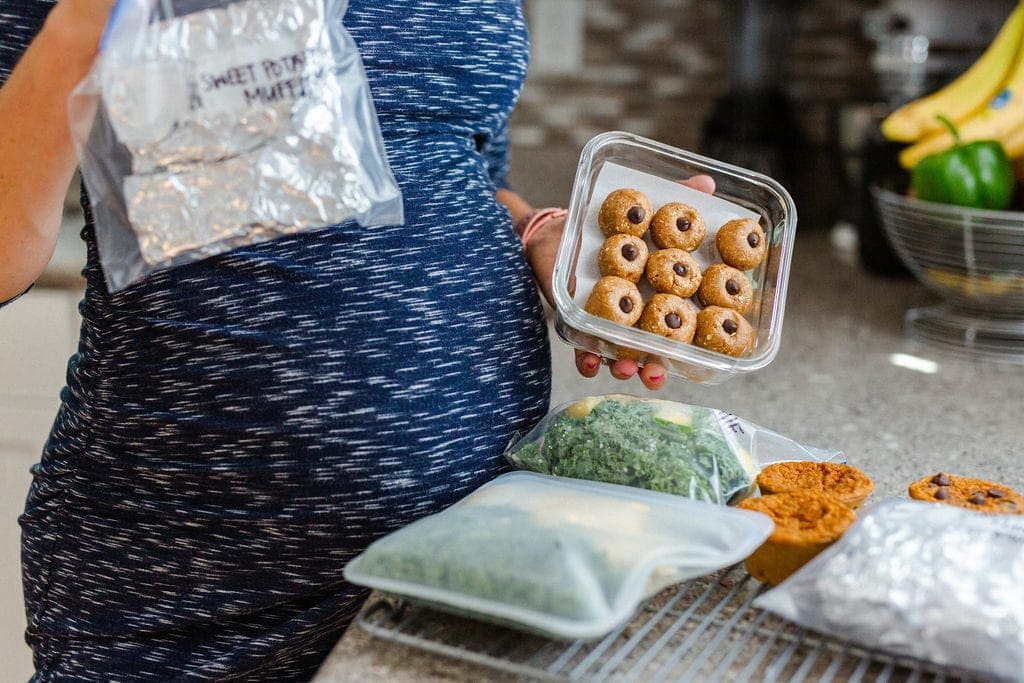
- Supplies: Food processor and air-tight containers to store the energy balls in. If I’m tight on freezer storage space I’ll opt for storing in quart sized freezer plastic bags or silicone reusable food storage bags {I personally love these Stasher bags}.
- Recipe Notes + Pro Tips: If you’re storing in plastic or reusable bags, place formed balls in the bag and freeze. If you’re storing in an air-tight container in the freezer, make a layer of energy bites on the bottom, cover with a layer of parchment paper and repeat until you fill the glass container. Additionally, I like to make half of the batch with chocolate chips and half without for a little variety.
- Storage: Store in an air-tight container in the refrigerator for up to a week, or store in the freezer for up to 6 months. You can eat the bites straight from the freezer, or place in fridge to thaw before enjoying.
- Video Tutorial: See exactly how I meal prep and store this energy bite recipe in my freezer by watching the video at the top of this post.
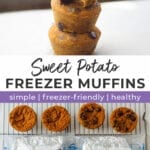
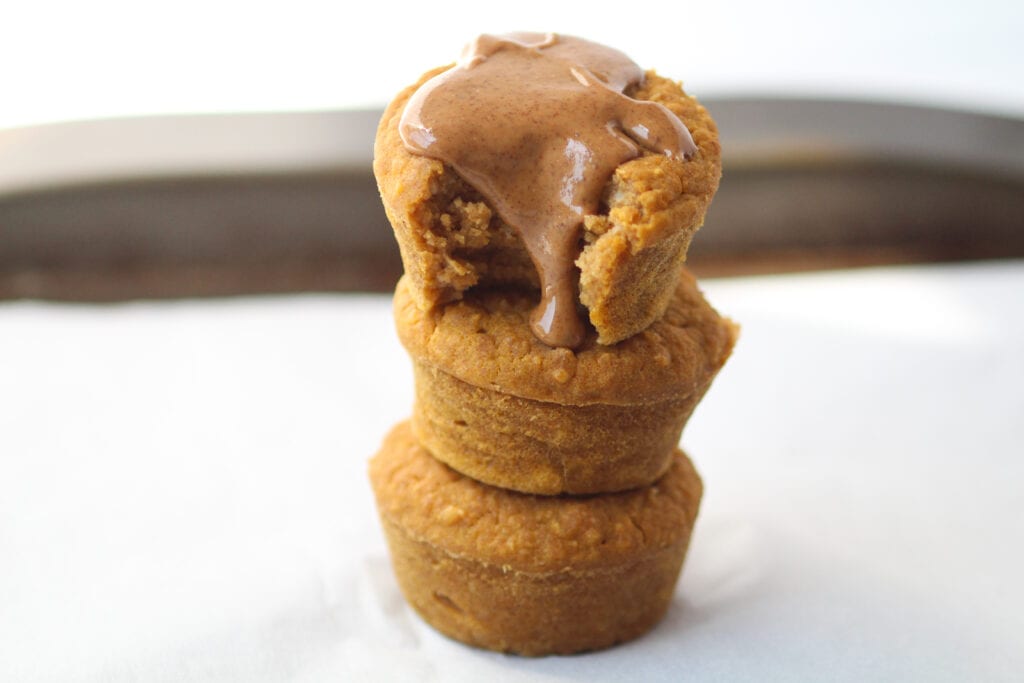
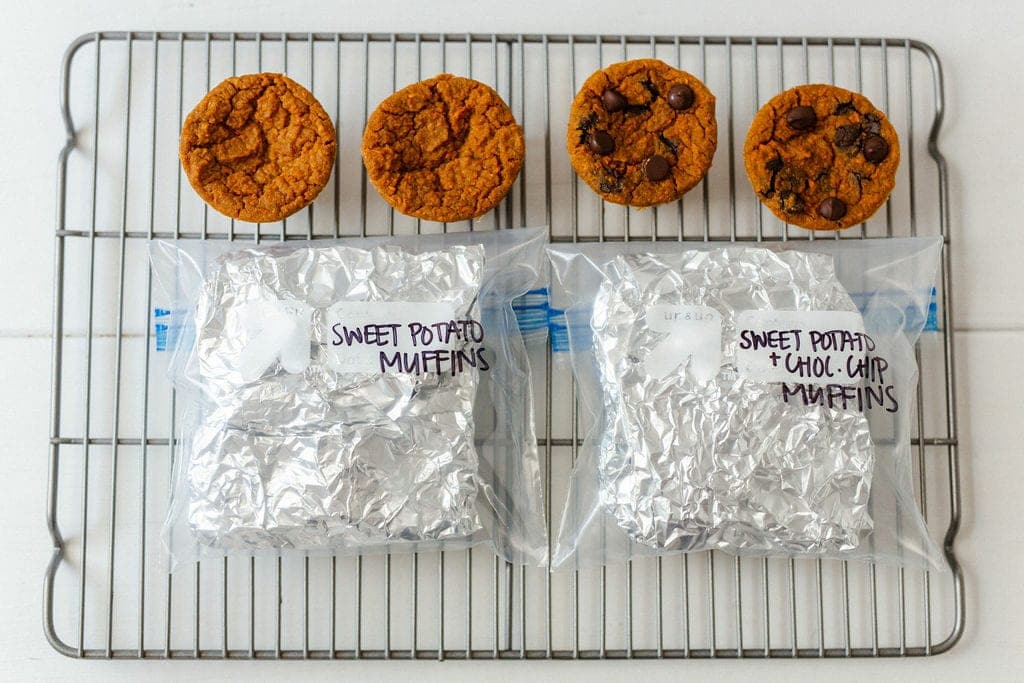
Healthy Sweet Potato Muffins {with and without chocolate chips}
If you follow me on social media, you’ve seen these sweet potato muffins make several appearances over the past few months. They’re a newer recipe to the blog, but have become a staple in our home, because they’re SO easy to make, and we all love them!
This is a healthy snack that you can feel good about. Theses muffins are made with NO refined sugar; rather naturally sweetened with applesauce and maple syrup. Plus, this muffin recipe is packed with vitamin A and fiber.
I also love that this recipes uses an entire can of sweet potato puree {I feel like most sweet potato muffin recipes call for only half of the can…then what do you do wiht the other half?!}
These sweet potato muffins are a toddler meal staple in our house. Brody B loves them, especially with chocolate chips, and they’re one of the easiest ways to get a serving of vegetables on his lunchbox. In my experience, toddlers eat veggies with far fewer complaints if they come in muffin form!
You can find this Sweet Potato Muffin Recipe on the blog by clicking here.
Freezer Meal Prep Tips
- Supplies: Aluminum foil and plastic freezer storage bags, glass storage containers, or silicone reusable food storage bags {I personally love these Stasher bags}. I personally use plastic freezer storage bags to store these muffins in my freezer. You can always use a glass Tupperware instead. But I use freezer bags because I have limited freezer space and this is the most efficient way to stock my small freezer.
- Recipe Notes + Pro Tips: My #1 trick: this silicone muffin pan. Muffins pop right out and it makes clean-up a breeze; which let’s be honest, clean up is the worst part of meal prep. You don’t have to pre-grease this silicone muffin pan either, I can’t tell you the number of times I forget to grease my pans.
- Storage + Reheating: First and foremost, you MUST let the muffins cool completely before packing them up for the freezer. Then I like to wrap 4-6 muffins in aluminum foil to help prevent freezer burn. I then place the wrapped muffins in a quart plastic freezer storage bag. When ready to eat, I pull out the stack of 4-6 muffins, let them thaw overnight in the fridge, and eat cold or reheat in the microwave.
- Video Tutorial: See exactly how I meal prep and pack these freezer-friendly muffins by watching the video at the top of this post.
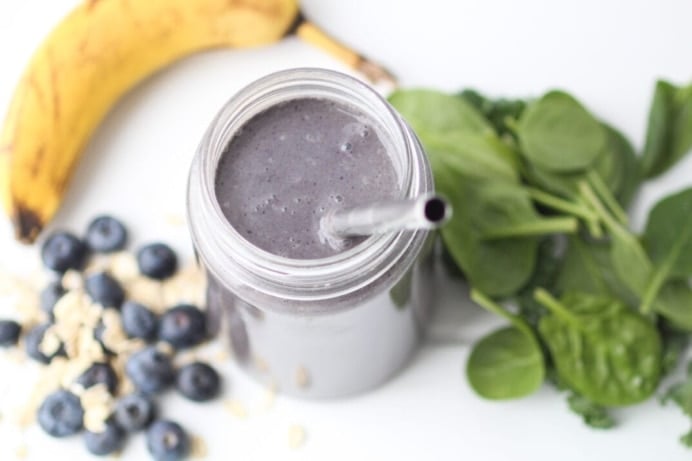
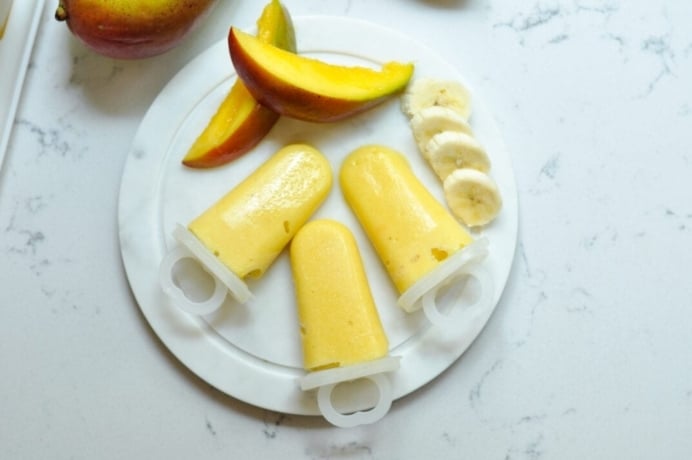
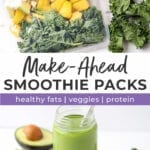
Meal Prep Kale Smoothie Packs + Smoothie Popsicles
Smoothies are already a great grab-and-go snack option, but meal prep smoothie packs make them even more meal prep friendly. I love pre-making smoothie packs so that I can simply ‘dump + blend’ when I want a smoothie.
It’s also a great way to use up produce that would otherwise go bad.
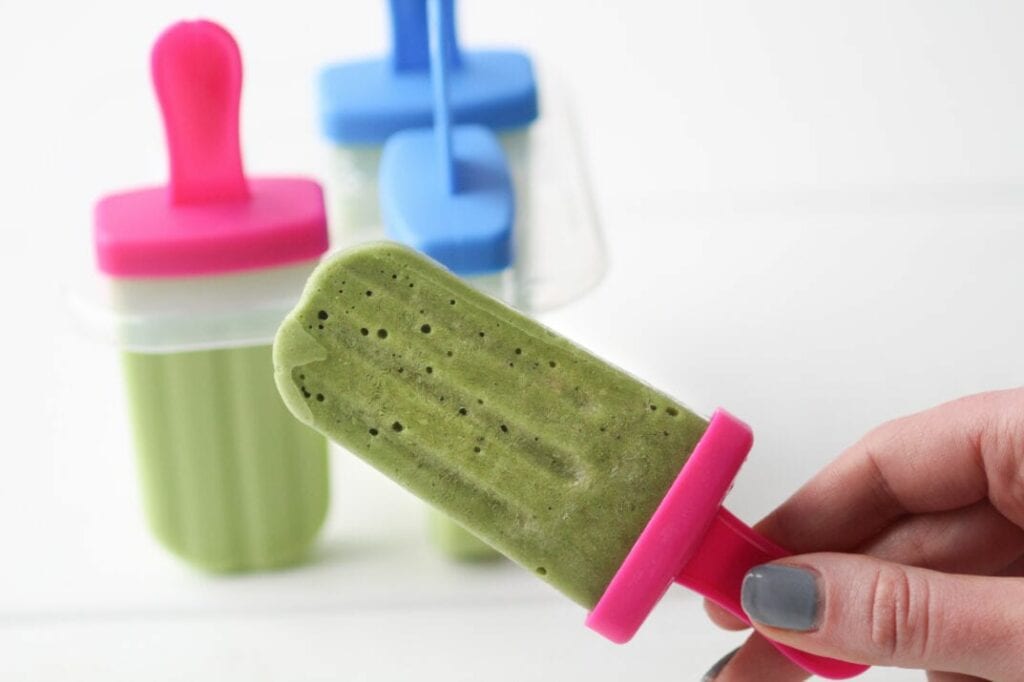
Whenever I have extra smoothie, I pour it into popsicle molds to freeze for smoothie pops for Brody B. That way my snack doubles as an easy, nutrient-dense toddler meal too!
These meal prep smoothie packs com in handy when I’m running low on groceries or after returning home to an empty fridge from traveling.
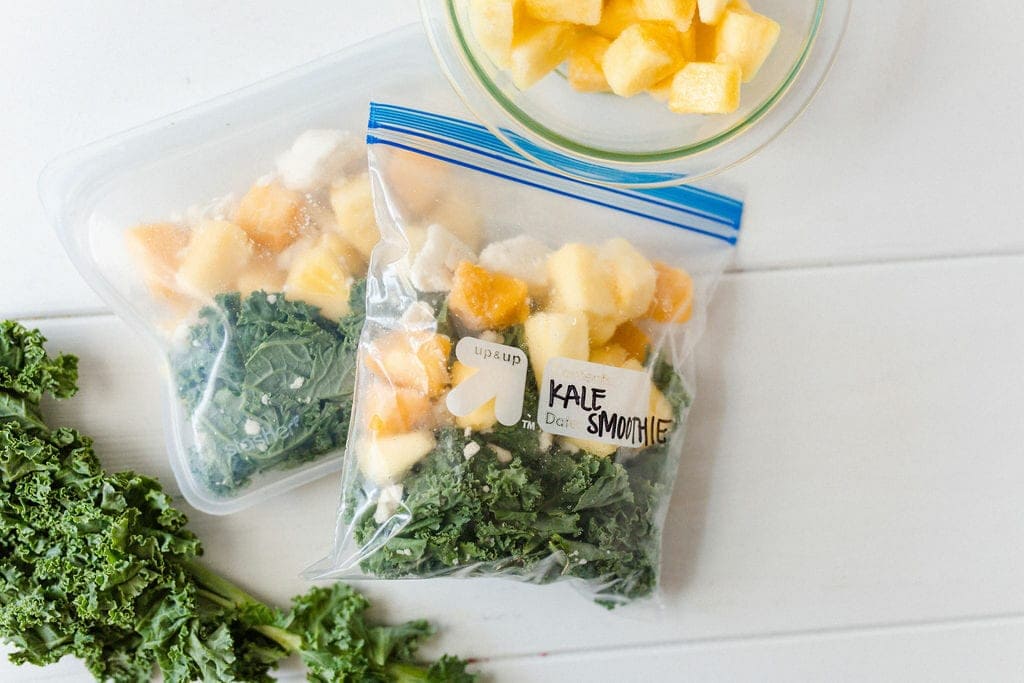
You can make smoothie packs with most smoothie recipes, but one of my personal favorites is this Pineapple and Kale Smoothie; based off this Energizing Kale Smoothie Recipe published on the blog earlier this year.
ADD TO FREEZER BAG:
- ¼ c pineapple, frozen
- 1 c kale or 2 kale leaves, de-stemmed
- 1 tbsp coconut butter, or option to add coconut oil when blending
- Optional: ½ banana or ½ c mango if you’d like to add more sweetness
WHEN READY TO SERVE, ADD TO BLENDER WITH:
- 1 tbsp coconut oil, if didn’t add coconut butter to freezer pack
- 1 c water or coconut water {or sub milk or nut milk of choice}
- Optional: 1 tsp matcha green tea for extra energy boost
- Optional: ½ c full fat plain Greek yogurt {great for making smoothie pops}
- Optional: protein powder of choice
Freezer Meal Prep Tips
- Supplies: Freezer plastic storage bags or reusable silicon storage bags, or a 16 oz glass mason jar. And popsicle molds if you plan to make smoothie pops for an extra toddler meal. I personally have this affordable popsicle mold set {under $7 on Amazon} and love it. I also use freezer storage plastic bags for my smoothie packs because I have limited space in my freezer. If you have more freezer storage space you can always use air-tight glass jars as well.
- Recipe Notes + Pro Tips: If I’m planning to make extra smoothie to pour into smoothie pops for Brody B, I’ll often add more fruit {extra mango or banana} to sweeten up this green smoothie recipe. And I’ll also add about 1/2 cup plain, full fat Greek yogurt when blending to thicken up the smoothie. With the added yogurt, I can make about 6 popsicles with this green smoothie recipe.
- Storage + Serving: Pretty simple, store smoothie packs in the freezer, and pull out and add to blender with liquid of choice when you’re ready to serve. If you’re pulling smoothie pops from the freezer, run them under warm water to release the popsicle from the mold. Ours never last more than 2 weeks in the freezer, but these smoothie pops are good for up to 1 month in the freezer. Whereas the smoothie pack is good for up to 3 months in the freezer.
- Video Tutorial: See exactly how I meal prep and pack these smoothie packs and toddler smoothie popsicles by watching the video at the top of this post.
Pin these 3 Healthy Snack Ideas {and toddler meals} to Meal Prep + Freeze
This post does include affiliate links and I earn a small commission on products purchased using these links. All words and opinions are my own. Thank you for supporting Nourish Move Love.
no comments