Assisted Pull-Ups (Beginners’ Guide and Tutorial)
This assisted pull-up guide is ideal for beginners who want to achieve their first pull-up with confidence and proper form. It walks you step-by-step through essential building blocks – from developing grip strength to mastering assisted variations – so you can progress safely and effectively. By following these techniques, you’ll build the strength and skills needed to perform a clean, controlled pull-up.
Quick Links:
Pull-ups have become a staple part of my strength-training routine because they challenge so many major muscle groups at once. Training for them has helped me build a stronger back, biceps, shoulders, forearms, chest and core. While I love to crush unassisted reps now, it took a while to get here. When I first committed to completing my first Murph Challenge, the pull-up portion of the workout intimidated me more than anything else – pull-ups or chin-ups are one of the most difficult bodyweight exercises you can do (and for good reason!).
I quickly learned that assisted pull-ups are one of the best ways you can build the strength required for an unassisted pull-up. There are many benefits of assisted pull-ups, the first being that they teach the proper form you need to do unassisted pull-ups. I personally found that they allowed me to train the full movement pattern even when my upper-body strength wasn’t there yet.
Assisted variations helped me strengthen my lats and mid-back muscles, improve scapular control, build bicep and forearm strength and improve my grip strength, all while reinforcing the correct form I would eventually need for strict pull-ups. They’re perfect if you’re just getting started or working to increase your current pull-up count. The consistency of this training also gave me better posture, healthier joints and a noticeable increase in overall upper-body muscle tone and endurance.
Pull-ups are incredibly humbling, and they should be. They’re one of the most challenging bodyweight movements, and statistically, only 31.3% of women can perform an unassisted pull-up. When I started, I wasn’t anywhere near that benchmark. I relied heavily on bands and assisted variations, and my focus wasn’t on how many “real” pull-ups I could do – it was on increasing the volume and quality of my assisted work. Over time, that consistency paid off. I went from struggling to hang on the bar to performing controlled, unassisted reps and eventually to incorporating more advanced pull-up progressions into my upper-body workouts.
If your goal is to join the 31.3% of women who can perform an unassisted pull-up, increasing the volume of assisted pull-ups with proper form is essential. In this tutorial, I demonstrate how to perform effective assisted pull-ups using pull-up assist bands at home, though you can absolutely do machine-assisted pull-ups at the gym as well. Once you’ve mastered the basics – grip, hanging and initiating the pull from your back – you can work through my 12-week guide to progress toward your first unassisted pull-up.
LET’S GET STARTED
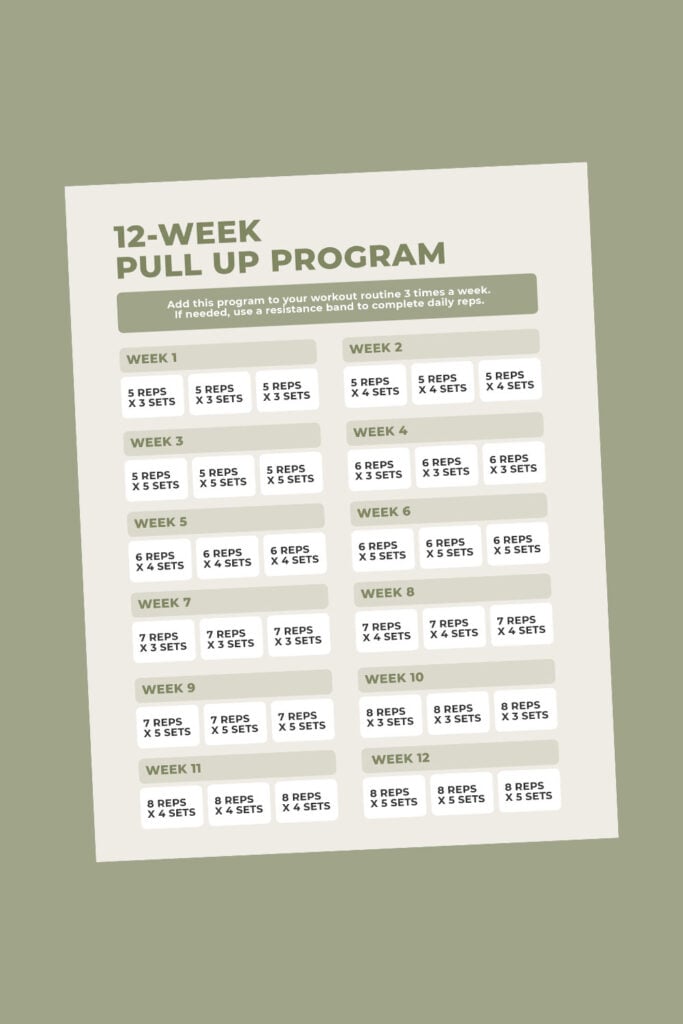
Download This FREE Pull Up Program
Download the PDF calendar for a 12-week pull up progression program to easily track your progress over time.
Download Plan
Assisted Pull-Up Specifics
This workout is designed to help you steadily progress through assisted pull-up variations so you can build the arm strength, control and technique needed for your first unassisted pull-up. With consistent practice, many people can expect to drop a band size in about 12 weeks and work toward a single pull-up (unassisted) within 6-12 months.
To see progress, add pull-up work to your workout routine 2-3 times per week, ideally with at least 1 rest day between sessions to allow your upper-body time to recover. I personally think that pull-up work pairs well with full-body strength training, upper-body-focused days or general conditioning workouts as long as you avoid overtraining your shoulders or grip. Anyone with current shoulder, elbow or wrist injuries (or anyone who experiences pain while hanging from a bar) should avoid this workout or consult a medical professional before beginning.
Equipment Needed
Doorframe pull-up bar and long loop resistance band (discount code: NML).
Instructions
Follow along with the guided Assisted Pull-Up Tutorial on YouTube, led by me — your certified personal trainer (CPT), Lindsey Bomgren.
Step-By-Step Tutorial
Follow the step-by-step guide below to work on pull-ups in your home gym. Start where you are and do what you can. Adjust this guide as needed, based on how long you can hang on the bar, what level of resistance you need and how many assisted repetitions you can perform.
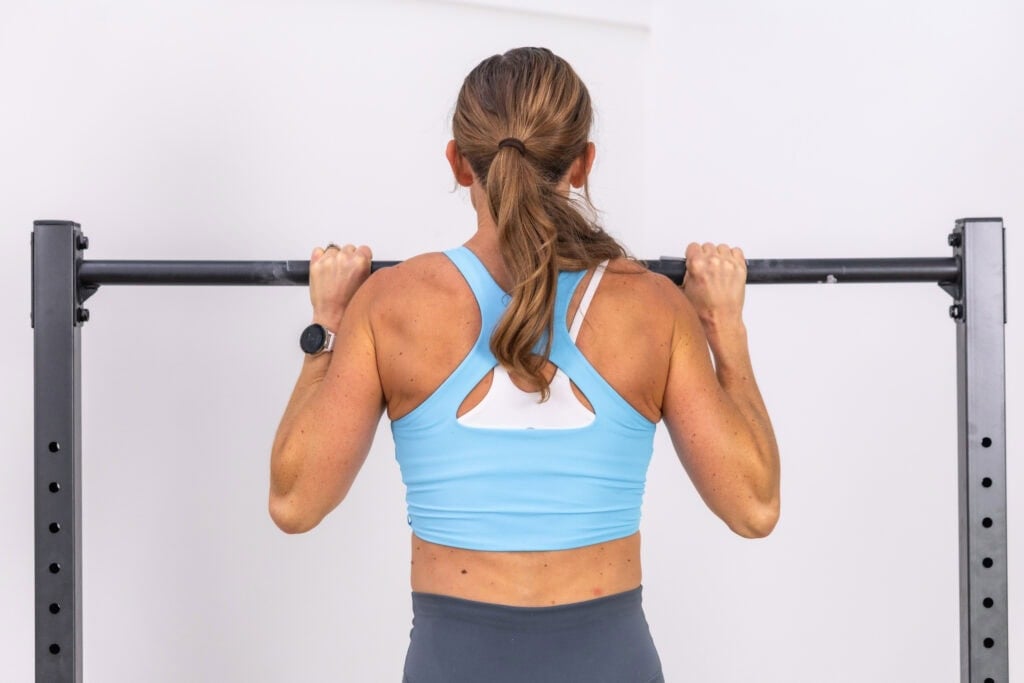
1. Hang On the Pull-up Bar (Overhand Grip)
Hanging on the bar (dead hang) is crucial because you need to mimic the move you want to do. The bottom of the pull-up is the most difficult portion of the move for most people. Hanging from the bar can strengthen the muscles that retract the scapula together, which will help you avoid getting stuck at the bottom of your pull-up.
Benefits: Improves grip strength, spinal decompression, stretches the upper body, improves shoulder mobility, reduces shoulder pain and improves posture.
How to Hang On the Pull-Up Bar
- Find a suitable pull-up bar: Use a secure pull-up bar that can support your bodyweight.
- Stand beneath the bar: Position yourself directly beneath the pull-up bar with your feet flat on the ground.
- Grip the bar: Reach up and grab the bar slightly wider than shoulder-width distance apart. Your palms should face away from your body.
- Hang freely: Allow your body to hang freely from the bar with your arms fully extended. Your body should form a straight line from your head to your heels.
- Engage your core: As you hang, engage your core muscles to stabilize your body. This will help you maintain good posture and control while hanging from the bar.
- Breathe and hold: Focus on relaxing your grip and maintain a steady breath. This will help you build endurance for longer hangs.
- Repeat and progress: Follow the progression program below to increase the time you can hang on the bar.
2. Make Progress With Pull-Up Bar Hangs
Add hanging on the pull-up bar to your workout 2-3 times a week. Start with a 10-second bar hang and progress with the following:
- 10-second bar hang x3 sets
- 20-second bar hang x3 sets
- 30-second bar hang x3 sets
- 40-second bar hang x3 sets
Once you can complete a 40-second hang x3 sets, you’re ready to progress to banded pull-ups.
3. Assisted Pull-Ups
Adding resistance bands to your pull-up routine allows you to practice the movement while decreasing the load. This will help you maintain proper form as you build strength. Start with a band that provides enough assistance for you to perform multiple pull-ups. Avoid starting with a lighter band that will only allow you to complete 1 rep.
Benefits: Builds serious upper-body strength, targeting your back, biceps and shoulders; teaches the proper form you need to eventually do unassisted pull-ups. They’re perfect if you’re just getting started or working to increase your current pull-up count, and the added support makes it easier to train safely and avoid injury.
How to Do an Assisted Pull-Up With a Resistance Band
- Choose the right assistance: Select a long loop resistance band that matches your current fitness level. Thicker (heavier) bands provide more assistance, while thinner (lighter) bands provide less assistance. Beginners who need more assistance should start with a heavier band (note that you may need to use more than one band if you’re just starting out).
- Set up the pull-up bar: Ensure the pull-up bar is securely installed and can support your weight.
- Attach the band to the pull-up bar: Loop one end of the long loop resistance band over the pull-up bar, ensuring it’s secure.
- Step into the band: Stand underneath the pull-up bar, and place one foot through the loop formed by the resistance band. Position the band under your knee or foot, depending on the band’s length and your preference.
- Grip the bar: Reach up and grip the pull-up bar with your palms facing away from your body (overhand grip), hands slightly wider than shoulder-width distance apart.
- Hang from the bar: Allow your body to hang freely with your arms fully extended.
- Perform the pull-up: Initiate resistance band pull-ups by squeezing your shoulder blades together and pulling your chest towards the bar. Keep your elbows pointed downward throughout the movement.
- Complete the pull-up: Continue to pull your body, pulling your chest up until your chin is above the bar, or as high as you can comfortably go. Keep your core engaged and your body straight throughout the movement.
- Lower yourself down: Slowly lower yourself back down to the starting position, extending your arms fully.
Note: Once you find a band that allows you to perform 5 repetitions of assisted pull-ups for 3 sets, you’re ready to move on to increasing repetitions or linear periodization (comprehensive pull-up training program). By following this 12-week program, you’ll work to increase the volume of repetitions you can perform as you simultaneously work to decrease the assistance needed.
4. Linear Periodization (Increasing Repetitions)
When it comes to mastering pull-ups, volume of training is more important than your maximum number of reps. Again, consistency over time is what compounds.
Benefits: By gradually increasing repetitions over time, you can focus on proper pull-up form. This allows you to build the strength needed for unassisted pull-ups without sacrificing good pull-up form.
How to Increase Repetitions
- Start at a low rep count of assisted pull-ups. For example, you might start at 5 reps. During the first week of training, perform 5 reps x 3 sets. Note that you can start at 2-3 reps if that is more reasonable, depending on your level.
- During the second week of training, add 1 full set of assisted pull-ups. For example, you’ll now perform 5 reps x 4 sets.
- During the third week of training, add another full set of assisted pull-ups. For example, you’ll now perform 5 reps x 5 sets.
- At week 4, keep the same band size but de-load by adding 1 rep to your sets, but pull back to a total of 3 sets. For example, perform 6 reps of assisted pull-ups for 3 sets.
- Follow this formula by adding a set every week, then de-loading after 3 weeks. You can see a full outline of how to increase your repetitions here.
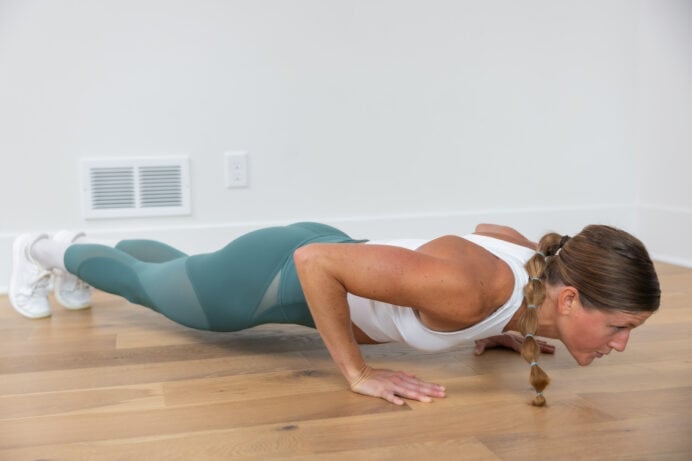
5. Try Regular Pull-Ups
After you’ve accomplished the first 4 steps in this assisted pull-up guide, try to complete your first unassisted pull-up. They’re one of the best exercises you can do to strengthen the upper body and core. If you need to scale at any point, check out my guide: How to Get Better at Pull-Ups.
Benefits: Strengthens the upper back and lower back – latissimus dorsi (lats), erector spinae, trapezius (traps), biceps, pectoralis major and minor (chest) and core.
How to Do a Regular Pull-Up
- Start standing underneath your pull-up bar, feet hip-width apart, neck and shoulders relaxed.
- Reach up and grip the pull-up bar with your palms facing away from your body (overhand or wide grip), hands slightly wider than shoulder-width distance apart.
- Allow your body to hang freely with your arms fully extended.
- Initiate the pull-up by squeezing your shoulder blades together and pulling your chest towards the bar. Keep your elbows pointed downward throughout the movement.
- Continue to pull your body up, pulling your chest up until your chin is above the bar, or as high as you can comfortably go. Keep your core engaged and your body straight throughout this pulling exercise.
- Slowly lower yourself from the top position back down to the starting position, extending your arms fully.
FAQs
How do I build strength for pull-ups?
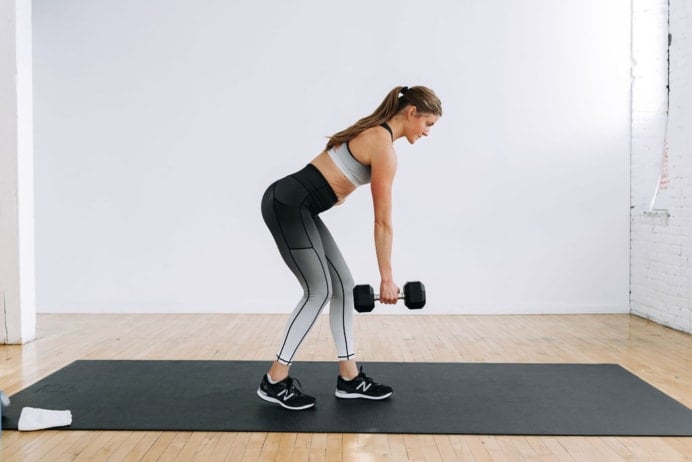
You should start by building a strong foundation through grip training, hanging from the bar and practicing scapular pull-ups. From there, incorporate assisted pull-ups, lat pulldowns and horizontal pulling movements like rows to strengthen your back, biceps and core. Keep in mind that consistency matters more than intensity. Focus on good form, clean reps, gradual progression and steady volume.
How often should I incorporate assisted pull-ups into my workout routine?
Most people see the best progress by training assisted pull-ups 2-3 times per week with at least 1 rest day between sessions. This gives your muscles time to recover while still building enough volume to make meaningful strength gains.
What are common mistakes to avoid when doing pull-ups?
Common mistakes include using too much momentum, pulling with your arms instead of your back, letting your shoulders shrug up toward your ears and not fully engaging your core. Rushing through reps or prioritizing quantity over form can also stall progress and increase your risk of injury.
Are assisted pull-ups better than lat pulldowns?
Neither is “better,” but they do serve different purposes. Lat pulldowns help build back strength in a controlled setting, but assisted pull-ups train the exact movement pattern of a pull-up, making them more effective if your goal is to eventually perform unassisted reps. Ideally, you’d use both to build strength and improve technique.
Are assisted pull-ups better than negative pull-ups?
Assisted pull-ups and negative pull-ups complement each other. Assisted pull-ups allow you to practice the full range of motion with support, while negatives focus on building strength in the eccentric (lowering) phase. If you’re newer to pull-up training, start with assisted pull-ups to learn proper mechanics, then add negatives as you get stronger.
You’ve Got This!
Training for your first unassisted pull-up takes time, patience and lot of consistency – but it’s absolutely worth it. Once you set a fitness goal to work towards your first unassisted pull-up, I’d encourage you to stick with it. Celebrate the small wins along the way and trust the process. With steady practice and consistent reps, you’ll be amazed at your progress!
More Posts
Fitness EducationPin This In-Depth Assisted Pull-Ups Guide
This post includes affiliate links. I do earn a commission for products purchased using these links (at no additional cost to you). Thank you for supporting Nourish Move Love, making the content you see on this blog possible.
no comments