





7 Best Foam Rolling Exercises
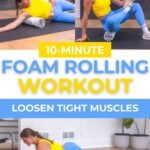
If you’re finding it hard to keep up with your workout routine or just get going in the morning, allow me to introduce you to your new best friend: the foam roller. I prioritize recovery and mobility in my personal life to keep me moving toward my goals for family and business, and this workout is tailored to help you recover from both life and the gym. The best part? It takes less than 15 minutes and is perfect for all fitness levels, whether you’re a busy mama or an on-the-go woman, so let’s get started!
Read A 5-Star Review ⭐⭐⭐⭐⭐
“Loved learning how to use the foam roller for stretching such a great addition to daily stretching!”
— Talia A.
Equipment and Instructions
Equipment Needed: Foam roller. I’m using a standard foam roller throughout this workout.
Implementing this workout into your routine: I suggest adding these foam roller exercises to your regular warm-up routine or using them after workouts to support muscle recovery and help reduce muscle soreness. Focus on slow, controlled movements rather than rushing through the foam rolling.
Your workout looks like this:
- 7 exercises: Complete with a roller on a mat.
- Timed intervals: 50 seconds of rolling and 10 seconds rest/transition.
- 1 round per exercise: Repeat a 1-minute interval per side for a single round.
Note: If you’re pregnant, postpartum, new to exercise or managing an injury or medical condition, consult your healthcare provider before starting a new workout routine. Modify any exercise as needed and stop if you experience pain or discomfort.
Foam Roller Workout Outline
1. T-Spine Upper/Mid-Back Roll
Targets: Upper back, mid-back and thoracic spine.

How to Do a T-Spine Upper/Mid-Back Roll
- Sit on the floor with your knees bent and feet planted. Place the foam roller horizontally underneath your upper back, around the bottom of your sports bra.
- Cross your arms over your chest or place your hands behind your head, keeping your elbows relaxed.
- Lift your glutes slightly off the floor and brace your core.
- Slowly push through your feet to roll the foam roller from your mid-back toward your shoulders, pausing over any areas that feel particularly tight.
- Reverse the movement and roll slowly back down toward the middle of your back, keeping the movement controlled.
- Continue rolling through the upper and mid-back for the desired amount of time, avoiding the lower back and neck.
2. T-Spine Flexion/Extension
Targets: Thoracic spine, upper back and shoulders.

How to Do a T-Spine Flexion/Extension
- Sit on the floor and place the foam roller horizontally under your upper back, around the bottom of your sports bra. Cross your arms over your chest or place your hands behind your head.
- Plant your feet firmly on the floor, bend your knees and gently lift your glutes off the mat.
- Slowly extend your upper back over the foam roller, allowing your chest to open while keeping your neck supported and your core engaged.
- Exhale and gently contract your abs as you return through a slight spinal flexion, lifting your head and shoulders just enough to bring your upper back back over the roller.
- Continue alternating between controlled thoracic extension and flexion, moving slowly through a comfortable range of motion.
3. Lat Roll
Targets: Latissimus dorsi (lats), upper back and lateral torso.
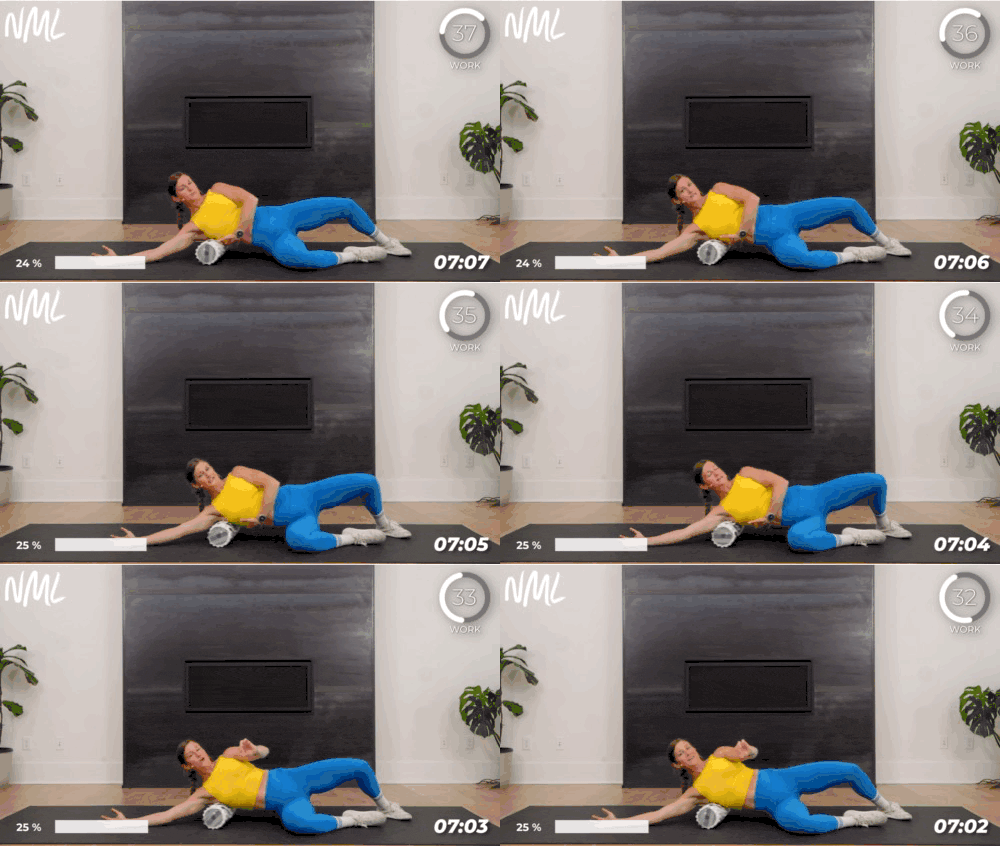
How to Do a Lat Roll
- Lie on your side with the foam roller positioned underneath your armpit, along the outside of your upper back.
- Extend your bottom arm overhead and keep your legs straight or slightly bent for support.
- Use your opposite hand and feet to control your body as you slowly roll from just below the armpit toward the middle of your side.
- Pause and gently rock back and forth over any areas that feel tight or tender.
- Slowly roll back toward the armpit, maintaining control throughout the movement.
- Continue for several passes, then switch sides.
4. Hip Flexor and Quad and TFL
Targets: Hip flexors, quadriceps, TFL (tensor fasciae latae) and upper thigh.

How to Do a Hip Flexor and Quad and TFL
- Start in a forearm plank with the foam roller positioned underneath your upper thigh, just above the knee.
- Keep your core engaged as you slowly roll forward toward the hip, working through the length of the quadriceps.
- Continue rolling toward the front of the hip, spending extra time on any areas that feel tight or tender.
- To target the TFL, rotate your body slightly toward the side so the foam roller moves toward the outer front portion of the hip.
- Slowly roll back toward the upper thigh, maintaining control and avoiding direct pressure on the hip bone or knee joint.
- Continue for several controlled passes, then switch sides.
Modification(s): If rolling directly along the outer thigh or IT band feels too intense, rotate slightly forward and focus on the muscles surrounding the area, including the TFL and lateral quadriceps. You can also reduce the amount of body weight on the foam roller by placing more weight through your hands and opposite leg.
5. Piriformis Figure 4
Targets: The glutes (the largest muscle in the body) and the piriformis (a deep, small muscle located between your glutes and hip joints).

How to Do a Piriformis Figure 4
- Sit on the foam roller with your left glute/hip, crossing your right leg over your left knee and leaning toward the left hip. Support your weight in your hands on the floor as needed.
- Shift as much weight onto the foam roller as is tolerable.
- While trying to relax the glute muscles, continue leaning into the left hip as you slowly roll over the left glute and butt muscle.
6. Calf Roll
Targets: The calf muscle.

How to Do a Calf Roll
- Sit on the floor with the foam roller underneath your right calf. Left knee should be bent at 90 degrees on the ground to support you. Hands should be on the ground behind you to support you.
- Shift as much weight onto the foam roller as is tolerable. If you need more leverage, you can cross your left leg on top of your right shin.
- While trying to relax the calf muscles, roll up and down from knees to ankles.
7. Frog Rock With Hands on Foam Roller
Targets: Inner thighs, adductors, hips and groin.

How to Do a Frog Rock With Hands on Foam Roller
- Start on your hands and knees with the foam roller positioned horizontally in front of you.
- Place both hands on the foam roller and step your knees out wide into a comfortable frog position.
- Keep your feet in line with your knees and gently rock your hips back toward your heels.
- Pause when you feel a gentle stretch through your inner thighs and hips, then shift your hips forward to return to the starting position.
- Continue rocking back and forth slowly, using the foam roller for support and maintaining a controlled range of motion.
- Repeat for several controlled repetitions, gradually allowing your hips to move deeper into the stretch as your mobility allows.
FAQs
How does foam rolling compare with massage guns for muscle recovery?
Foam rolling and massage guns can both be useful tools for muscle recovery, but they work differently and offer different types of pressure. A foam roller allows you to control the amount of pressure and slowly work over larger areas of muscle tissue, while a massage gun delivers rapid, targeted percussion to specific areas. Neither is inherently better, so I like choosing the tool that feels most comfortable and fits your recovery needs.
What are the benefits of using a foam roller for exercise recovery?
Foam rolling can temporarily improve range of motion, reduce the perception of muscle soreness and help tired muscles feel more comfortable after exercise. It can be especially useful as part of a recovery routine following strength training, running or other activities that leave your muscles feeling tight. Think of foam rolling as a form of self-massage that can complement other recovery strategies rather than replace sleep, hydration and proper nutrition.
How often should you do foam roller exercises for optimal results?
There isn’t one ideal frequency for foam roller exercises, so how often you foam roll should depend on your training routine, recovery needs and how your body feels. Using a foam roller for a few minutes before or after exercise, or on rest days, can be a practical way to incorporate self-myofascial release into your routine. Consistency matters more than spending a long time on the foam roller, and you should avoid rolling aggressively enough to cause significant pain or bruising.
Does foam rolling help loosen the fascia?
Foam rolling may influence how tissues feel and move, but the idea that it physically “breaks up” or permanently loosens fascia is an oversimplification. Research suggests foam rolling can temporarily improve range of motion and reduce perceived soreness, but those effects don’t necessarily mean the connective tissue itself has been permanently remodeled. I think of foam rolling as a useful tool for movement and recovery rather than a way to physically “break up” fascia.
More Workouts
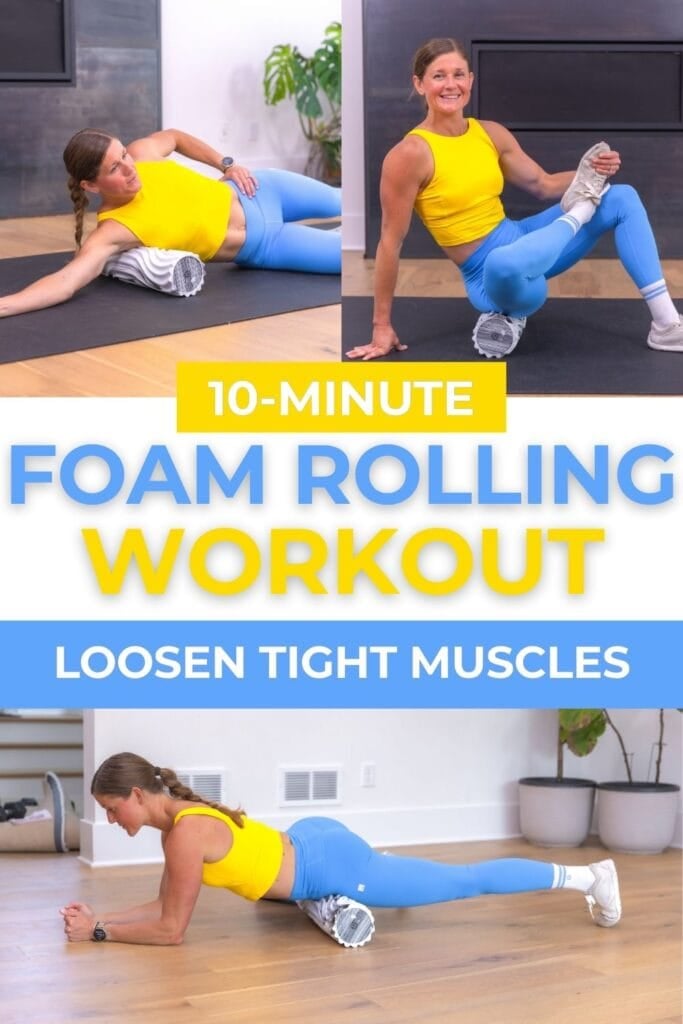
Home WorkoutsPin This: 7 Foam Roller Exercises (10-Minute Workout)
This post includes affiliate links. I do earn a commission for products purchased using these links (at no additional cost to you). Thank you for supporting Nourish Move Love, making the content you see on this blog possible.
no comments


Leave a Comment